Work with the AI Writer and AI Admin assistant
Ask the Doxbrix copilot to edit a page, create pages, change settings, and ground its answers in attached screenshots and source documents.
Doxbrix includes a chat copilot that works in two roles. In the editor it is AI Writer, which drafts, rewrites, and restructures documentation. Everywhere else it is AI Admin, which answers questions about your workspace and changes project settings, members, and billing on request. This guide shows you how to open each one, choose how much it may do on its own, review what it proposes, and attach material it should write from.
Before you begin
- Sign in to Doxbrix and open a workspace. See Sign in and reset your password.
- To have AI Writer change a page, you need edit access to the project. To have AI Admin change settings or members, you need a role that can make that change yourself; the copilot acts with your permissions. See Roles and permissions.
- Your workspace AI policy must allow the copilot. When it is turned off, a request fails with
AI Writer is disabled by your AI policy.orThe workspace assistant is disabled by your AI policy.See Govern AI with the AI policy.
Which copilot to use
| Col 1 | AI Writer | AI Admin |
|---|---|---|
| Where it appears | In the editor, on the AI Writer tab | On the dashboard and other workspace screens |
| What it does | Drafts, rewrites, restructures, or summarizes the open page; creates pages and spaces; publishes or unpublishes pages; plans doc sections from attached material | Answers questions about the workspace and settings; changes project settings; manages members and billing; sets up new projects |
| Modes | Ask mode, Auto mode | Ask mode, Full auto |
| Attachments | Screenshots and source documents | None |
The modes control how much the copilot does without asking:
- Ask mode answers and proposes changes. Nothing changes until you approve it.
- Auto mode (AI Writer) applies document edits automatically when it is safe to do so.
- Full auto (AI Admin) runs safe project actions and stops to ask you before high-risk actions.
Ask AI Admin about your workspace
From the dashboard, select Open AI Admin. The AI Admin panel opens with the status Ready, a greeting, and suggested prompts such as What plan am I on? and Invite a teammate to the workspace. Use Expand AI Admin to widen the panel or Close AI Admin to hide it.
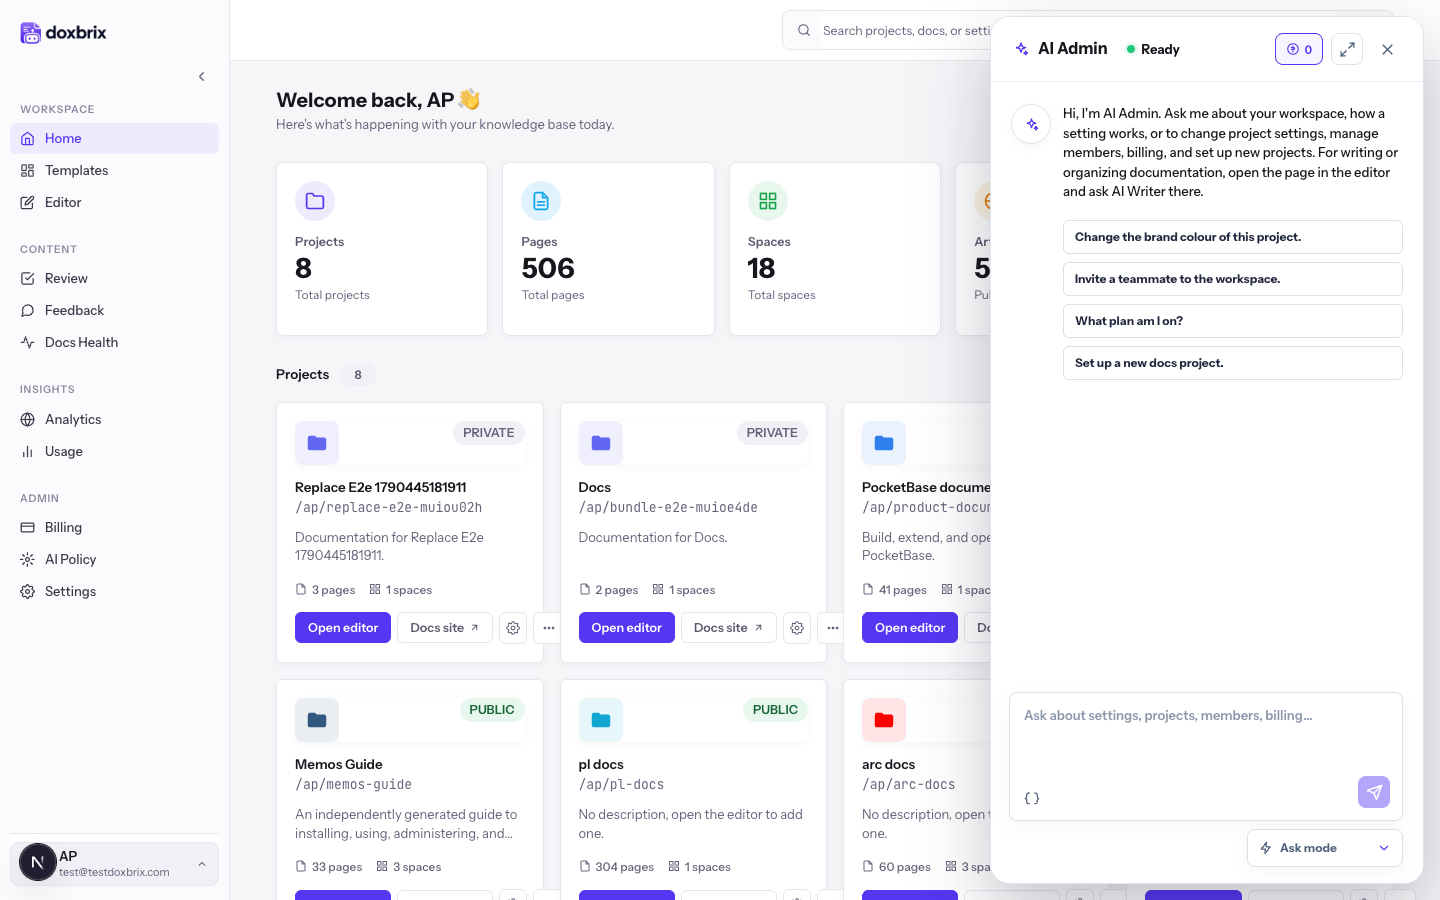
Open the AI mode selector below the message box and choose Ask mode or Full auto. Start with Ask mode until you are familiar with what the assistant proposes. The selector closes and shows your choice.
Select the message box, which shows the placeholder Ask about settings, projects, members, billing..., and type your question. For example, type Which PocketBase pages lack a description?. The Send button becomes available.
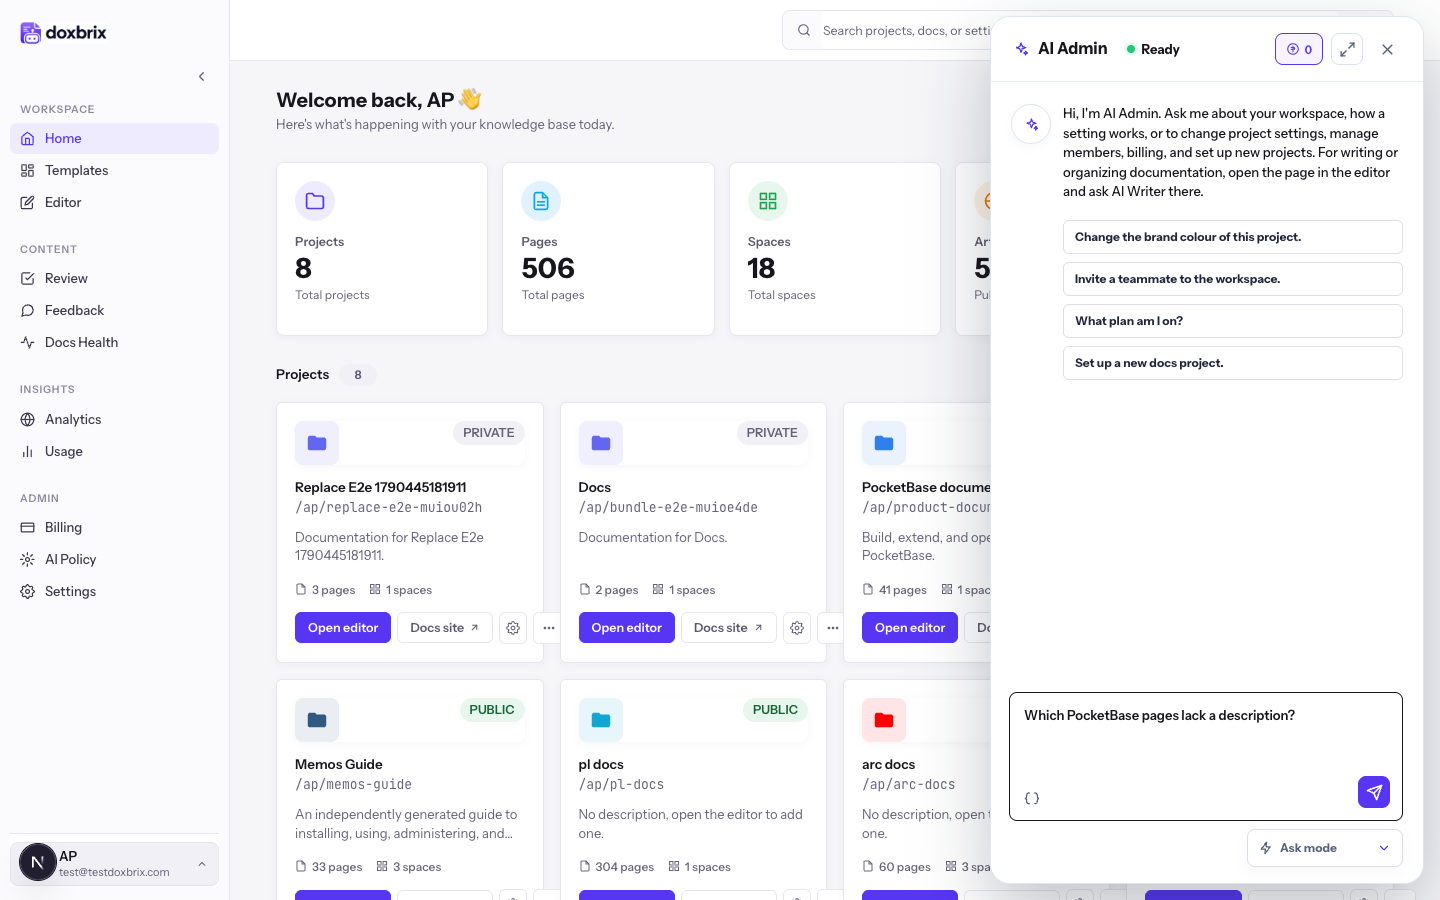
Select Send. The status line shows what the assistant is doing while it works, and the answer streams into the panel. If the request would change something, AI Admin shows the proposed action with Reject and a confirm button instead of acting, unless you chose Full auto and the action is low risk.
Edit a page with AI Writer
Open a project, then open the page you want to work on, for example a page in the PocketBase sample project. If the page is published and locked, choose to edit it from the Published menu first so that AI Writer can change it. See Publish and edit published pages.
In the copilot panel, select the AI Writer tab. The panel shows Ready, suggested prompts such as Add a Prerequisites section after the intro. and Tighten the opening paragraph., the Attach files control, and the AI mode selector with Ask mode and Auto mode.
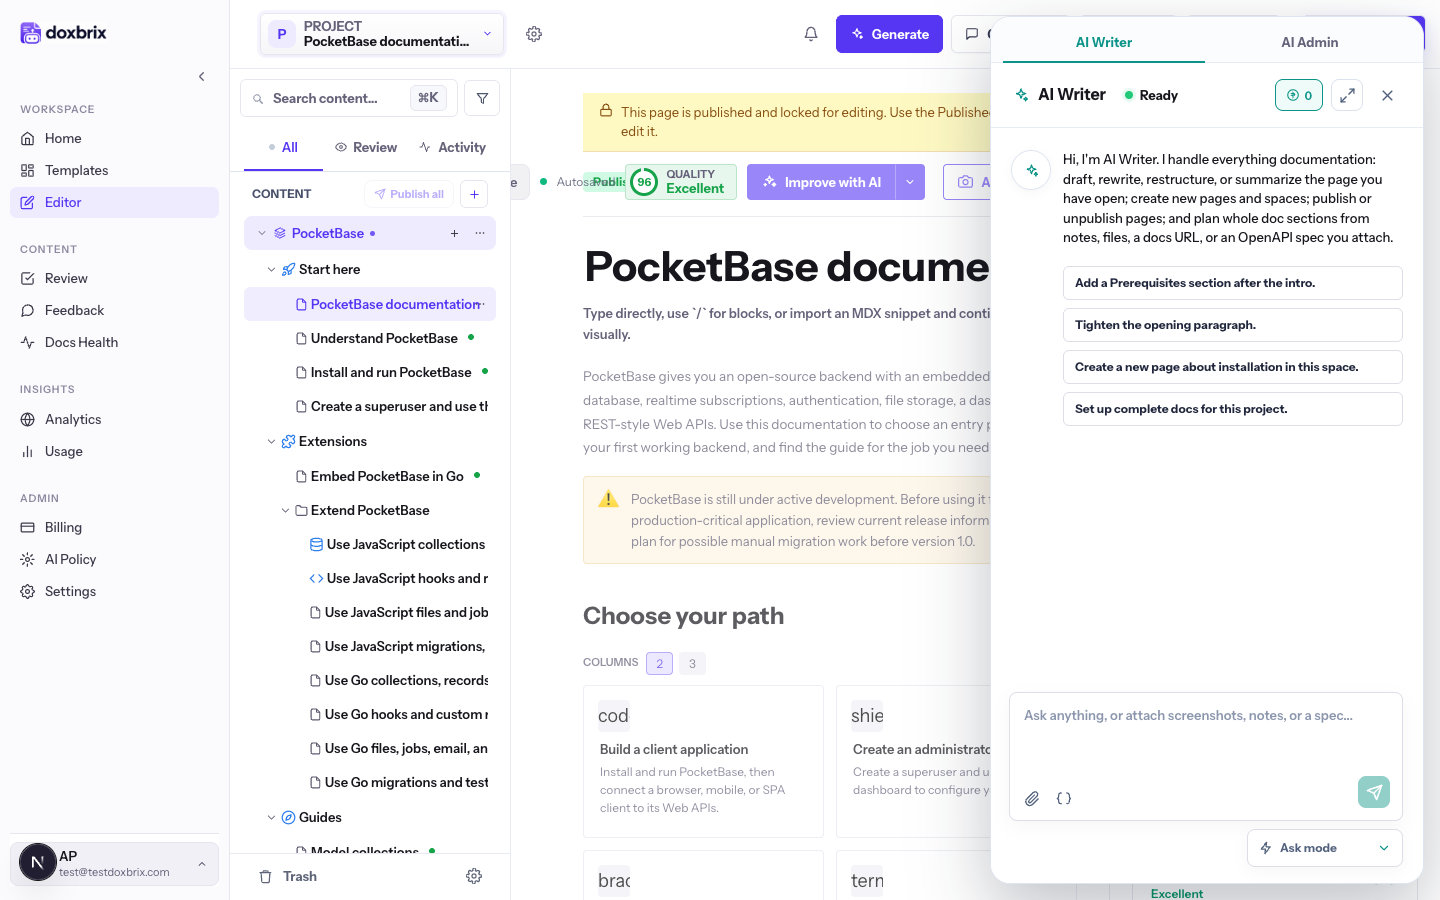
Select Ask mode, then type the change in the message box, for example Add a Prerequisites section after the intro., and select Send. AI Writer reads the page and returns a proposal that lists each change as Add, Edit, Remove, or Move.
Read each row of the proposal. Clear the rows you do not want. The Apply button shows the number of selected rows when you have not selected all of them.
Choose one:
- Apply applies only the selected rows.
- Accept all applies every row.
- Dismiss discards the proposal without changing the page.
When changes are applied, the panel shows Applied to the page. Autosaving.
Create pages from a conversation
AI Writer can also create new pages. Ask for one, for example Create a new page about installation in this space.
- AI Writer shows a card titled Create page with the proposed title.
- Under Where should it go?, choose the space or group for the new page.
- Select Create page to create it, or Reject to cancel.
For a larger request, such as Set up complete docs for this project., AI Writer proposes a plan of several pages. Select Approve plan to accept it or Reject to decline. The pages are created as drafts and their content is written in the background. You then review and publish them through the normal workflow; see Submit, review and approve pages.
Attach screenshots and source documents
AI Writer can ground its writing in material you provide. AI Admin does not accept attachments.
- In the AI Writer panel, select Attach files. Your operating system's file chooser opens.
- Choose images or source documents, then confirm. The files appear above the message box.
- Type what you want AI Writer to do with them and select Send.
| Attachment | Limit |
|---|---|
| Screenshots and other images | Up to 20 images per message. Large images are scaled down before sending. |
| Source documents | Up to 3 documents per message, each no larger than 5 MB |
| Source document formats | .md, .mdx, .txt, .html, .htm, .docx, .pdf, .json, .yaml, .yml (JSON and YAML are for OpenAPI specs) |
When you paste 2,500 or more characters into the message box, AI Writer treats the paste as a source document instead of a typed message. This keeps the conversation short while still giving the copilot the full text.
When a plan is built from an OpenAPI spec, the endpoint pages are built exactly from the spec and the remaining pages are written in the background.