Create a project
Create a new Doxbrix documentation project and set its name, site URL, brand color, font, theme, visibility, and editor type.
A project is one documentation site in your workspace, with its own editor, navigation, and live reader site. This guide walks you through the Create new docs path of the project wizard. You name the project, choose its site address, brand, default theme, who can view it, and how you author. When you finish, the project is ready to open in the editor.
Before you begin
- Sign in to Doxbrix and open your dashboard.
- Check your plan's project allowance. If your workspace has reached its project limit, Doxbrix shows an upgrade prompt when you select Create project. See Plans and limits reference.
- Decide on a project name, for example
Acme Docs. Every other setting is optional and you can change it later in project settings.
Choose a project type
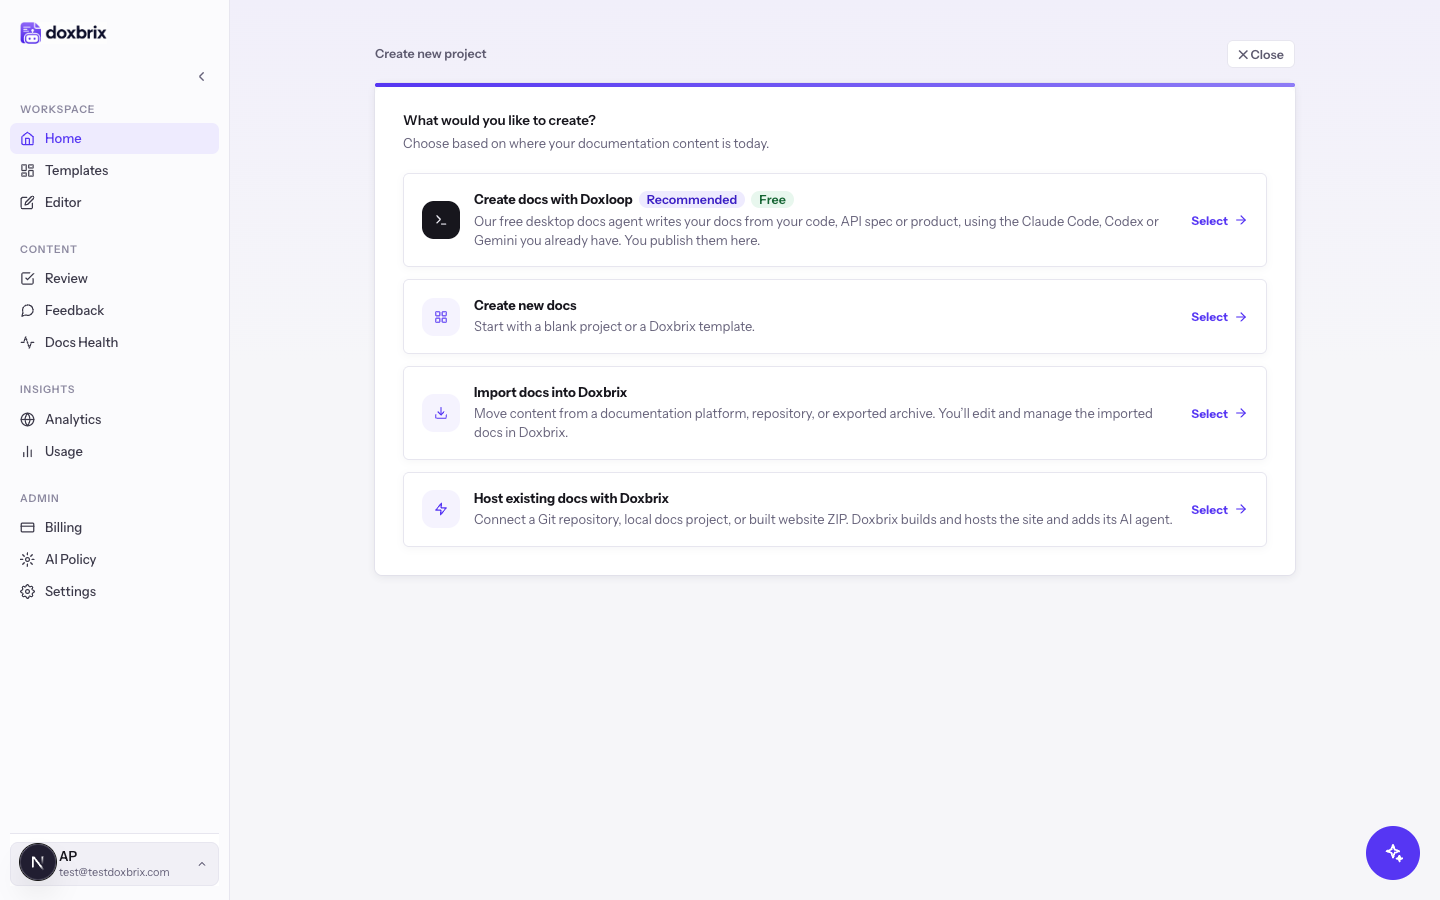
The wizard starts by asking What would you like to create? Pick the option that matches where your content is today:
| Option | Use it when |
|---|---|
| Create docs with Doxloop | You want the free Doxloop desktop agent to write docs from your code, API spec, or product, and then publish them in Doxbrix. |
| Create new docs | You're starting fresh with a blank project or a Doxbrix template. This guide covers this path. |
| Import docs into Doxbrix | You want to move content from another documentation platform, a repository, or an exported archive, and edit it in Doxbrix. See Import existing documentation. |
| Host existing docs with Doxbrix | You have a docs-as-code site in a Git repository, a local folder, or a built website ZIP, and want Doxbrix to build and host it. See Host an existing docs site. |
Create the project
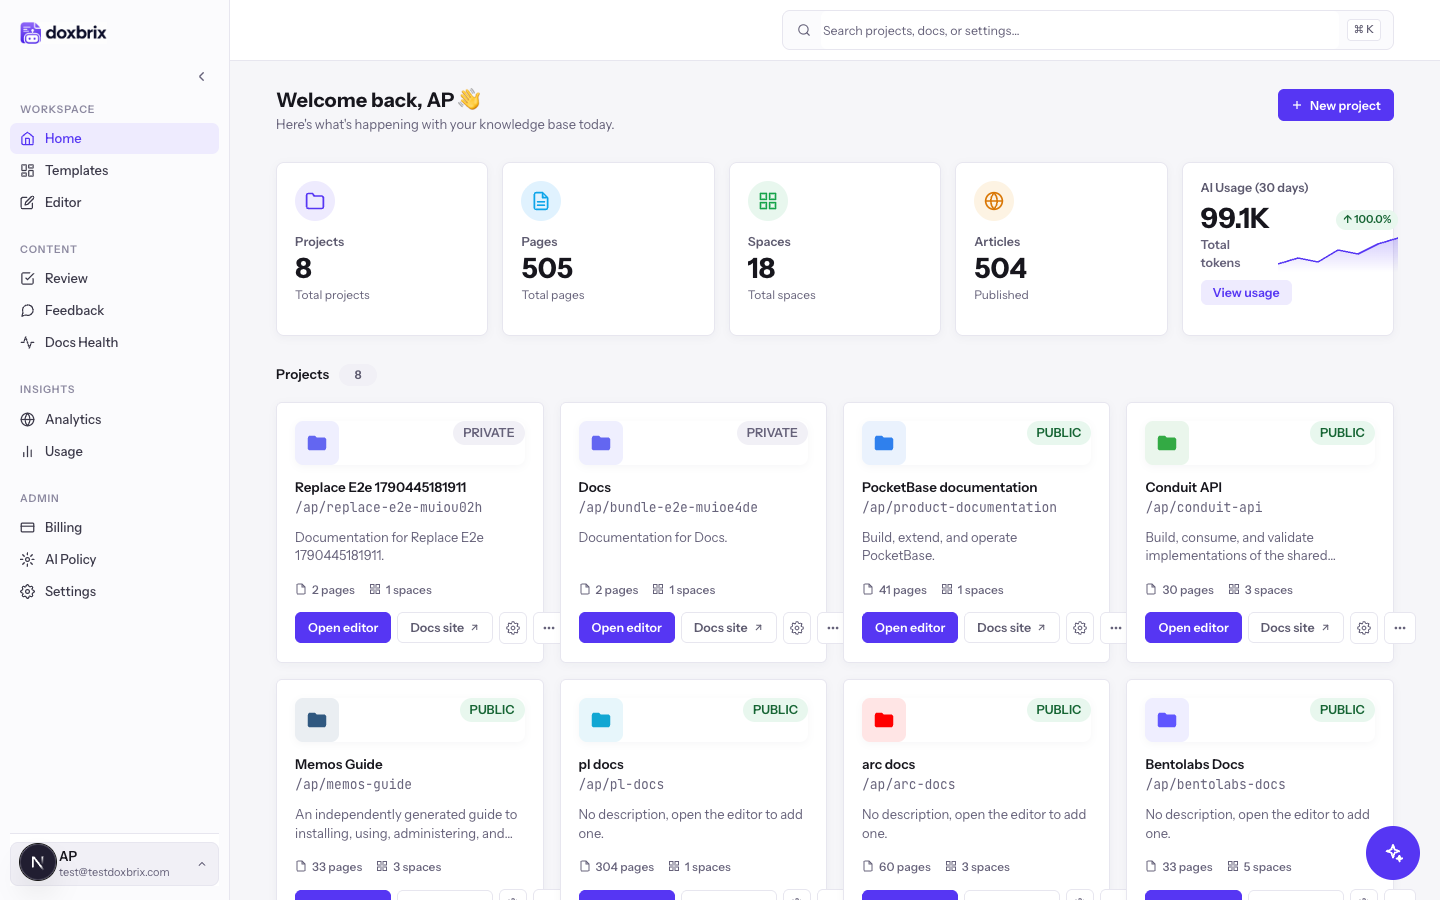
On the dashboard, select New project in the header.
The Create new project screen opens and asks What would you like to create?
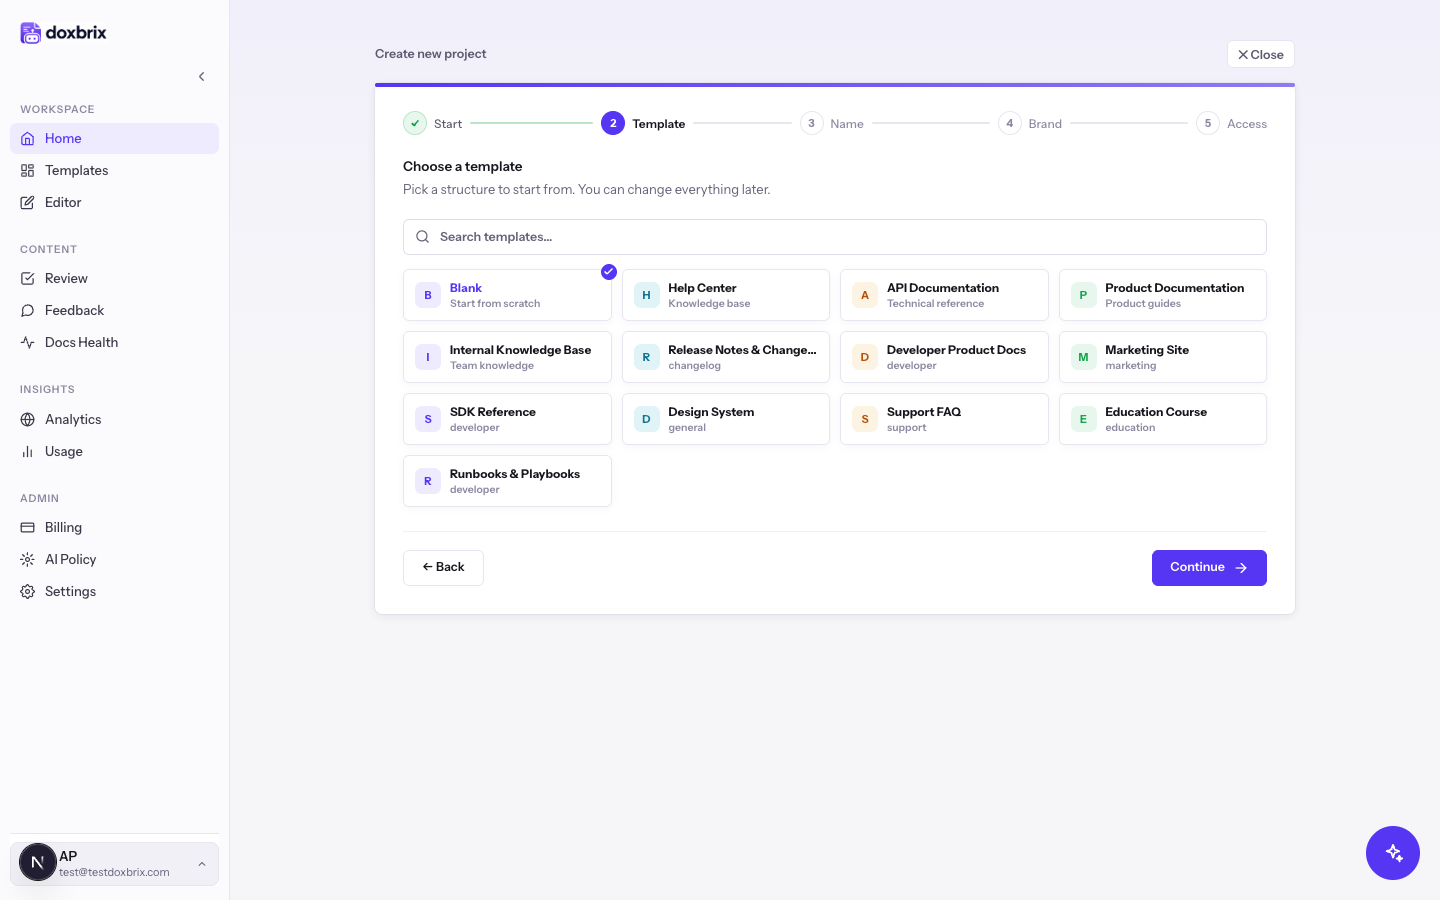
Select Create new docs. The wizard moves to Choose a template, step 2 of 5. The stepper at the top shows the five steps: Start, Template, Name, Brand, and Access.
Select a template card, or type in Search templates… to filter the list by name, description, or category. Blank is selected by default and starts from scratch. Other templates, such as Help Center, API Documentation, and Release Notes & Changelog, add a starting structure. Then select Continue.
To compare the templates before you choose, see Start from a template.
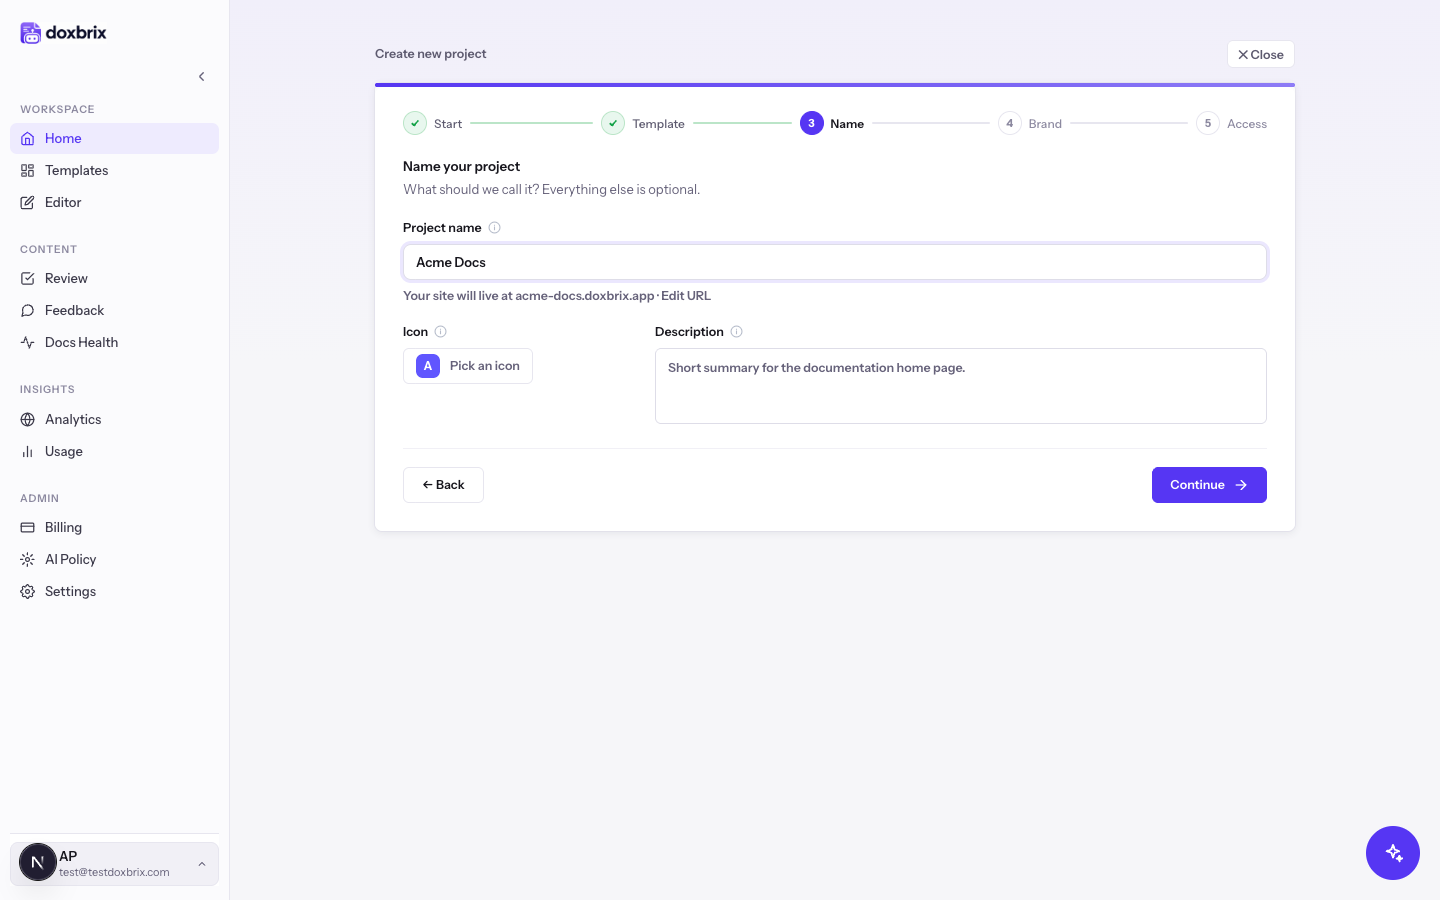
On Name your project, type a name in Project name, for example Acme Docs. The name can have up to 60 characters and appears on your docs home page.
Doxbrix builds the site address from the name and shows it below the field, for example Your site will live at acme-docs.doxbrix.app. To choose a different address, select Edit URL and type a slug. Slugs use lowercase letters, numbers, and hyphens only, up to 80 characters.
Optionally, select Pick an icon under Icon, and add a short summary in Description (up to 160 characters) for the documentation home page. Then select Continue.
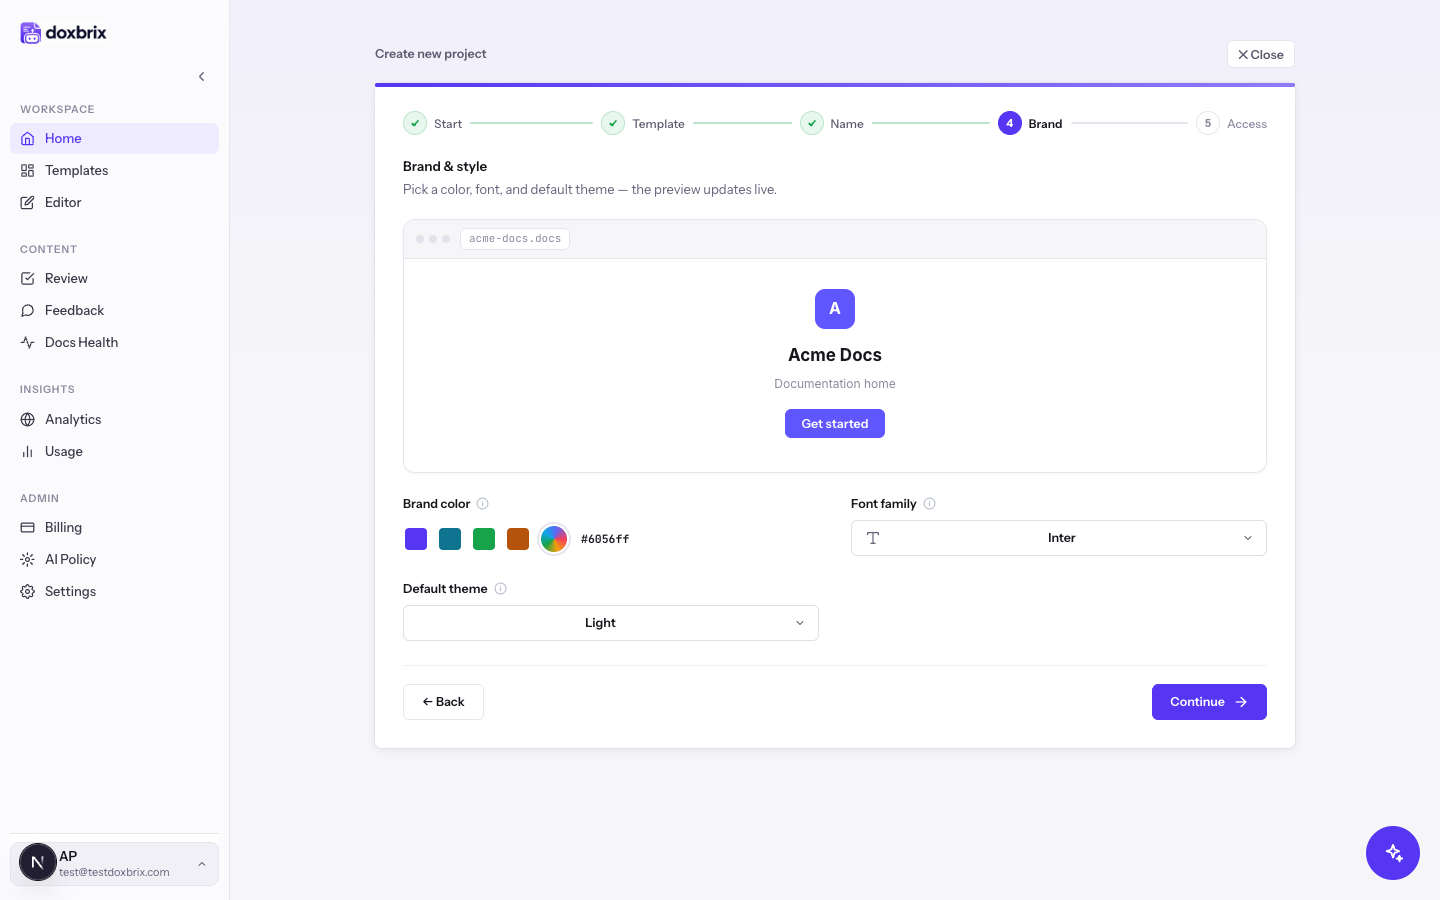
On Brand & style, choose how the reader site looks. The preview on the left updates as you change each setting.
- Brand color: select a swatch (
#5636F3,#0E7490,#16A34A, or#B45309) or enter a custom six-digit hex value. The default is#6056ff. - Font family: keep Inter or choose another option, such as DM Sans, IBM Plex Sans, Lora, or System UI. To use a font that isn't listed, choose Custom and type its family name, for example
Montserrat. - Default theme: keep Light, or choose Dark or Use device setting.
Then select Continue.
On Access & editor, choose who can read the site and how your team writes:
- Who can view: Public (default) lets anyone with the link view the site. Private limits the site to authenticated workspace members. See Make a site private.
- Editor type: Block editor (default) lets you edit with blocks, columns, and more. WYSIWYG is a word-processor style editor with a formatting toolbar. See Tour the editor.
- Language: the default language of the documentation site. The default is English. See Publish docs in multiple languages.
- Version control (Optional): expand it to connect a GitHub or GitLab repository and sync your docs as code. You can also do this later. See Sync a project with a Git repository.
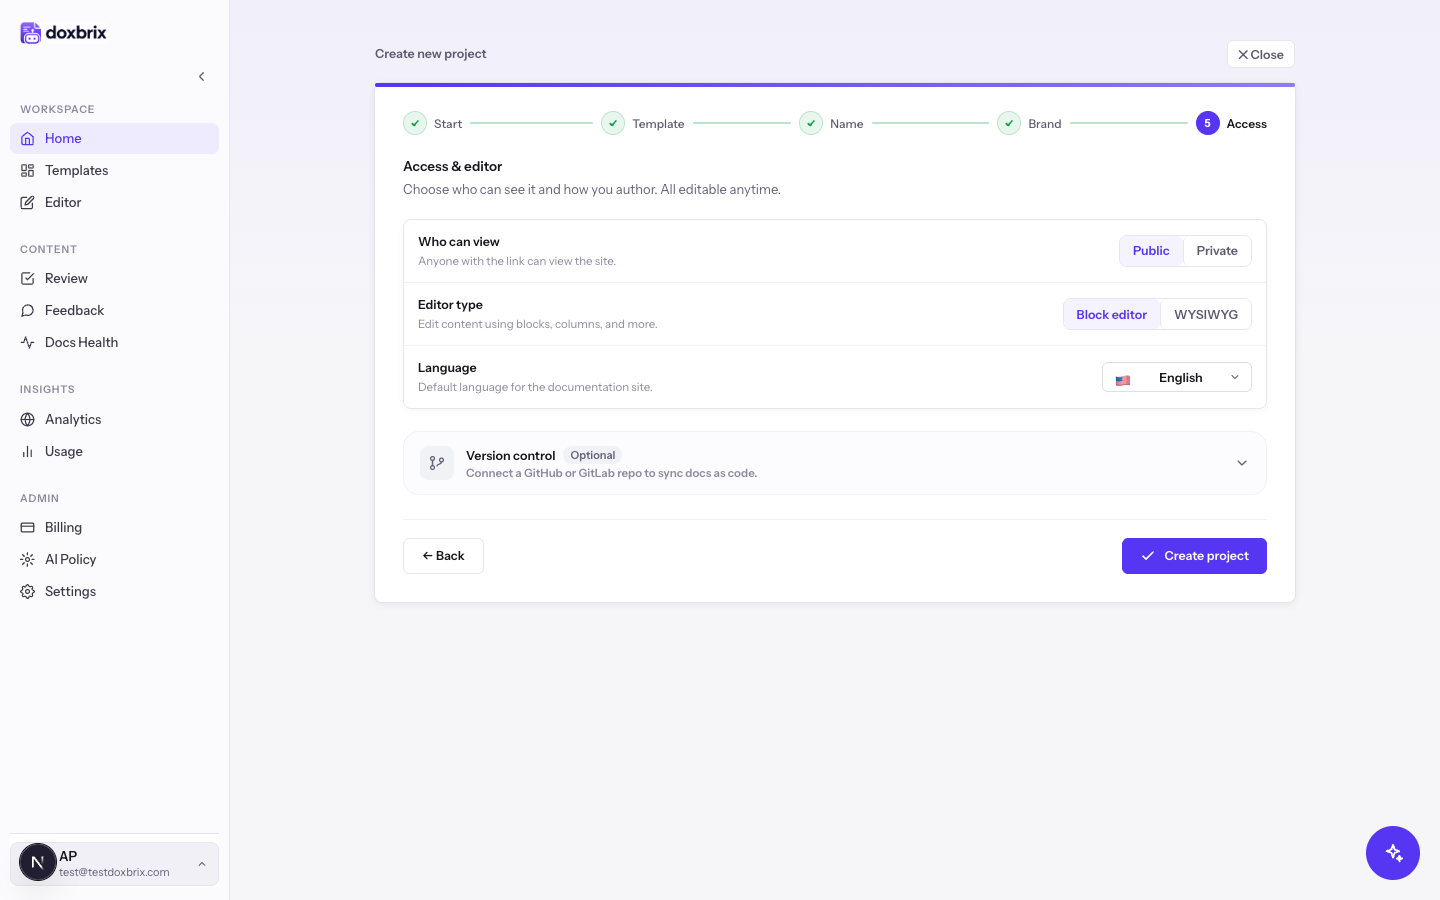
Select Create project. The button reads Creating… while Doxbrix sets up the project.
Verify
When setup finishes, the wizard shows Acme Docs is ready, the template the project was created from, and the site address, for example acme-docs.doxbrix.app.
The new site isn't public until you publish pages. To publish your first page, see Publish and edit published pages.