
Capture app screenshots automatically
Let Doxbrix sign in to your product, follow the flow a draft page documents, and add real screenshots in the right places.
Auto capture adds real screenshots of your product to a draft page. Doxbrix signs in to your application, follows the flow the page describes, and inserts each screenshot beside the step it illustrates. You then review the result and save the page as usual.
Use it when a how-to or tutorial page already describes a workflow in text and needs images. To write a new page and capture screenshots in one pass, use Generate a page with AI with With screenshots instead.
Before you begin
- Open a draft page. Auto capture works only on drafts; on a published page the button is unavailable and its tooltip reads Open a draft page to capture screenshots. To change a published page, first edit it as a draft. See Publish and edit published pages.
- Make sure the page describes the flow in enough detail to follow, such as the screens to open and the controls to select. Doxbrix plans the screenshots from the page content.
- Have the login page URL and a test account for your application. Use a demo or staging environment with sample data, never a production account with customer data.
- Each capture run costs 5 AI credits. Check your balance in Track AI usage.
- To save a login for reuse, you need manager access to the project. Any project member can use a saved login.
Capture screenshots
From the dashboard, open the draft page, for example from Drafts & needs attention. The page header shows Improve with AI and Auto capture.
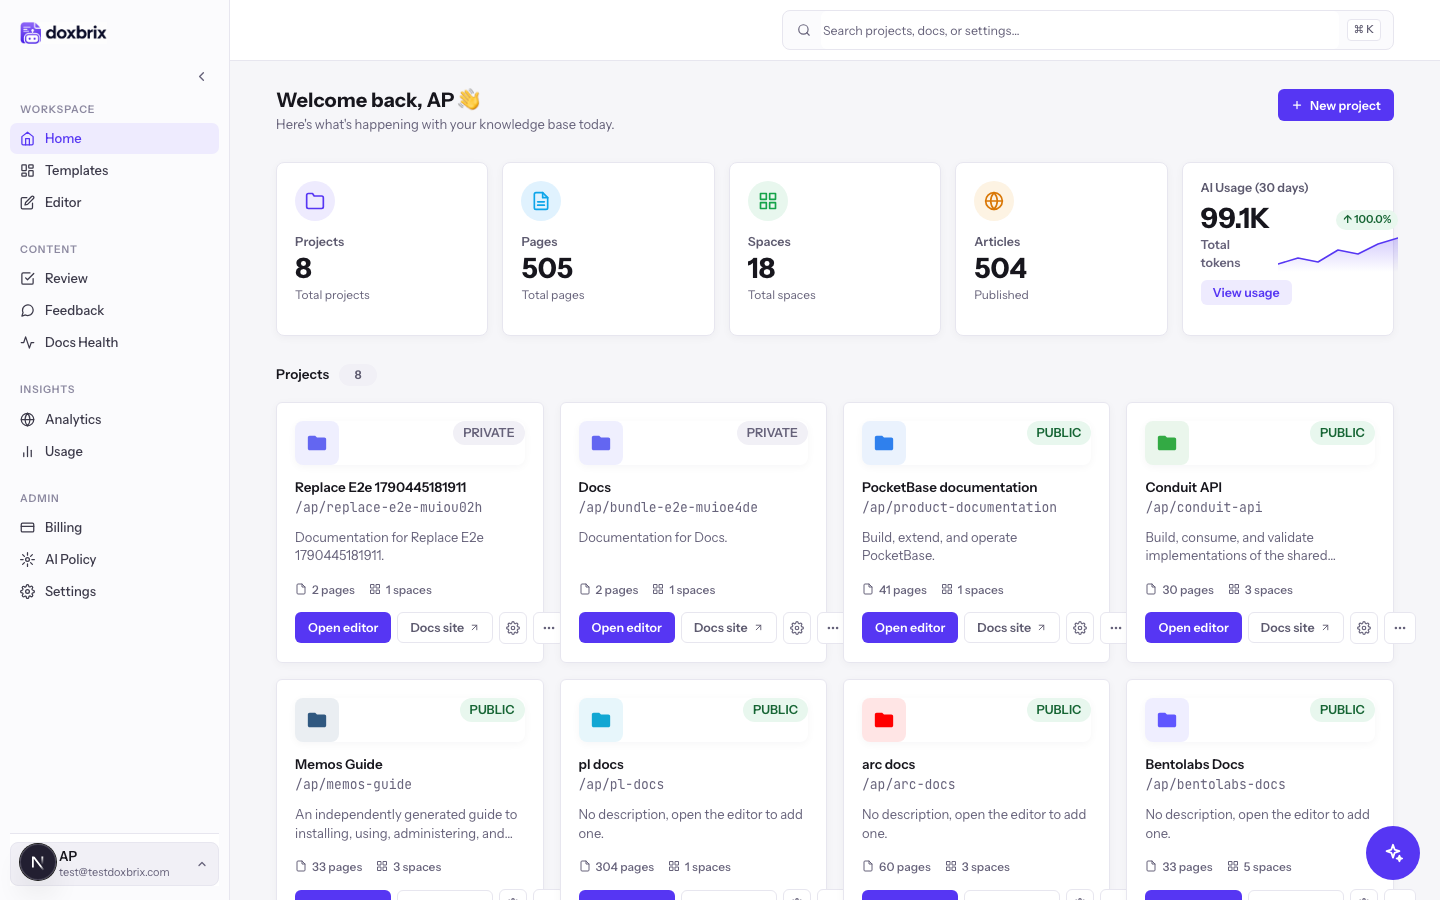
Select Auto capture. The Capture screenshots dialog opens and explains that Doxbrix logs in to your product, follows the flow this page documents, and adds the screenshots in the right places.
If your project has saved logins, the dialog first offers Use a saved login and New login. With Use a saved login, choose an entry from Saved login and continue to the What to capture (optional) step. When no logins are saved, the login fields appear directly.
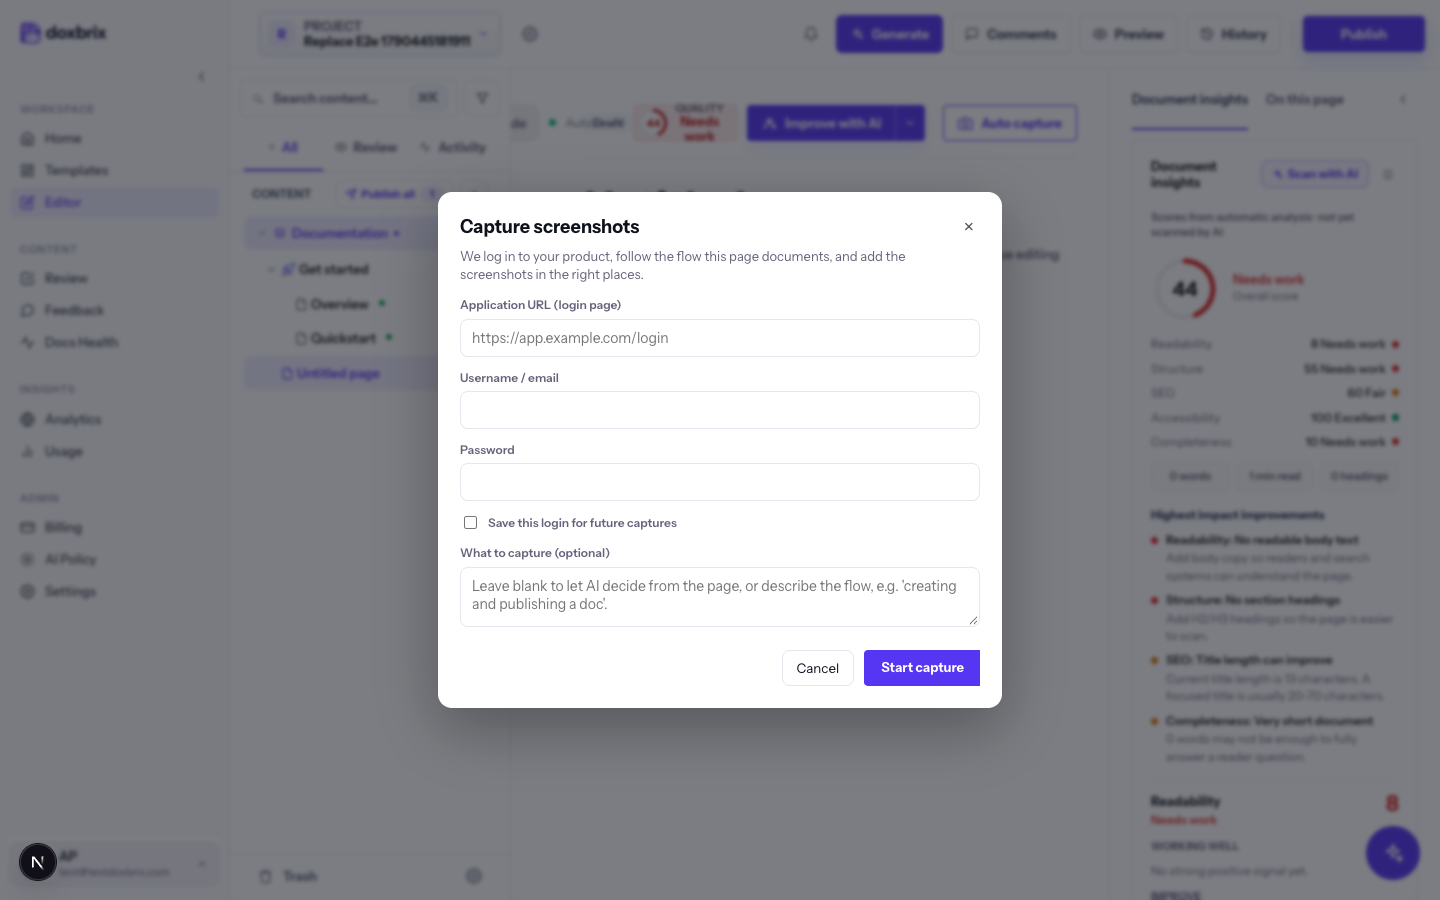
Choose New login if it is offered. In Application URL (login page), enter the page where your application's sign-in form appears, for example https://app.example.com. In Username / email, enter the test account, for example demo@example.com, and enter its Password.
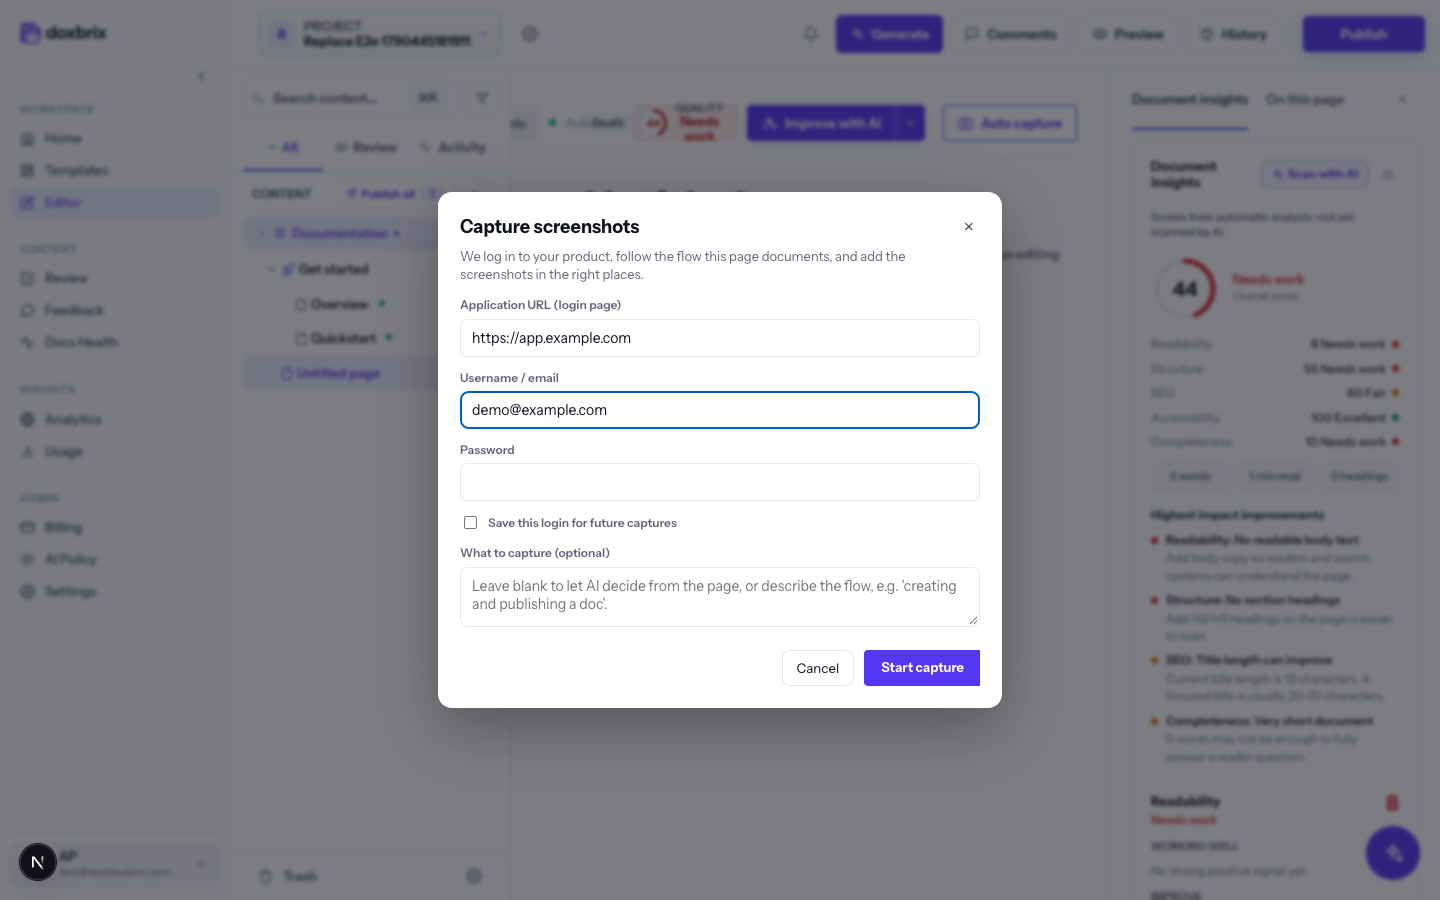
To reuse this login for later captures, select Save this login for future captures and optionally enter a Name (optional), such as Staging app. If you leave it unselected, the login is used once and its credentials are removed when the capture finishes.
In What to capture (optional), describe the flow to photograph in up to 600 characters, for example The settings page and invite dialog. Leave it blank to let AI decide from the page.
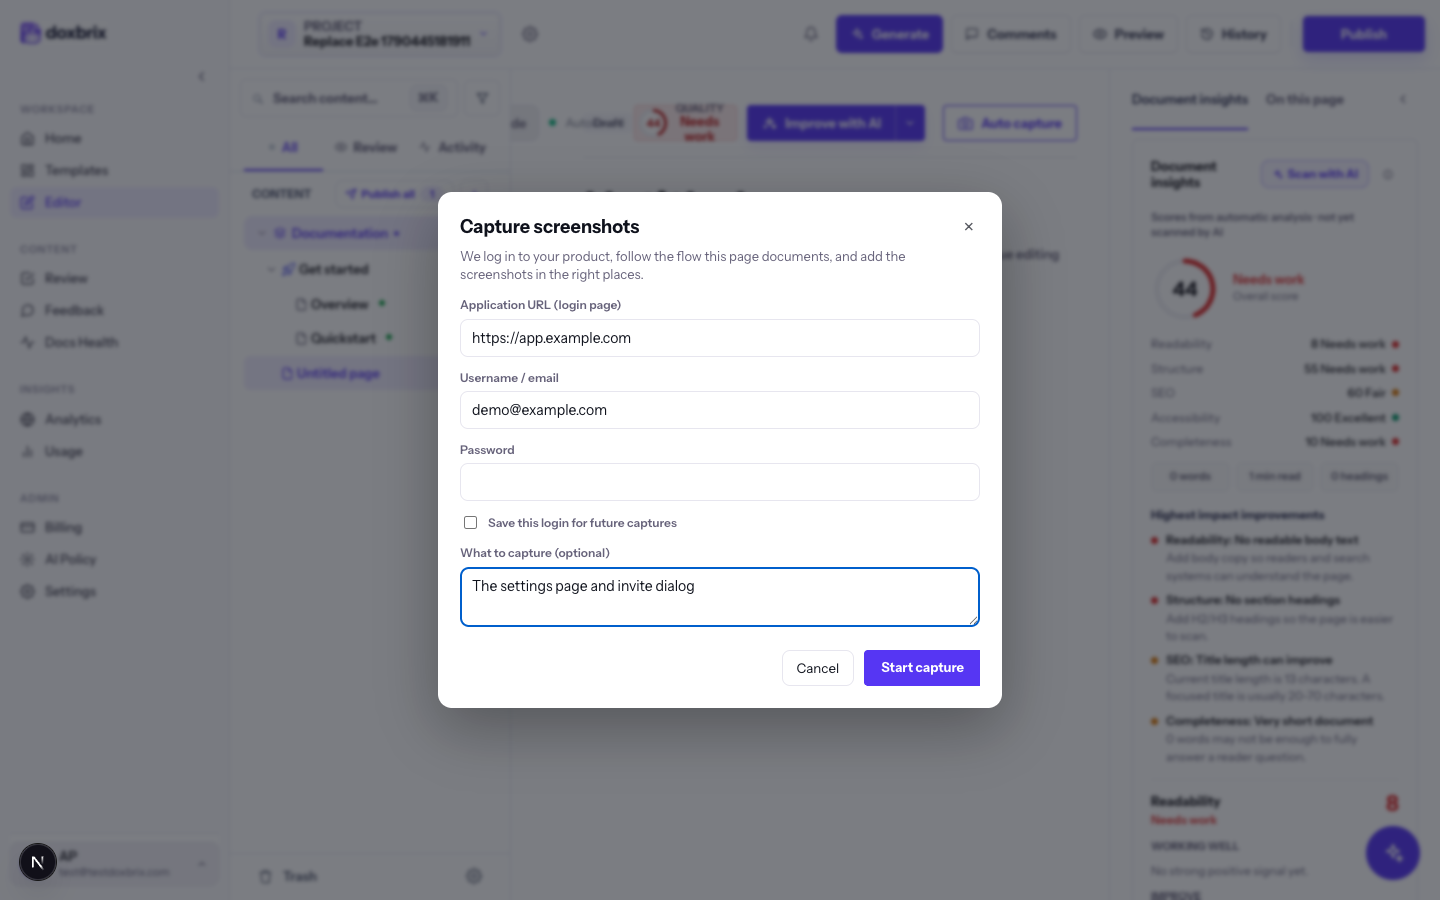
Select Start capture. The dialog shows Planning screenshots from your page…, then Capturing N screenshots…, with the note This usually takes under a minute. Keep this page open. You cannot close the dialog while the capture is running.
When the run finishes, the dialog reads Added N screenshots to the page ✓ and Review and save your page as usual. Select Done.