
Quickstart: from sign-up to a published site
Create a Doxbrix account, set up a project, generate your first page with AI, publish it, and open the live reader site.
In this tutorial, you create a Doxbrix account, set up a documentation project called Acme Docs, generate a first page with AI, and publish it to a live reader site. By the end, you have a public site at an address such as acme-docs.doxbrix.app and you know the path every page follows in Doxbrix.
You will learn:
- how sign-up, email verification, and plan choice fit together;
- what a project is and which settings you choose when you create one;
- how the editor, AI page generation, and publishing work.
Before you begin
You need:
- a web browser and an email address you can open, for example
alex@example.com; - nothing else: the Free plan needs no credit card.
Create your account and site
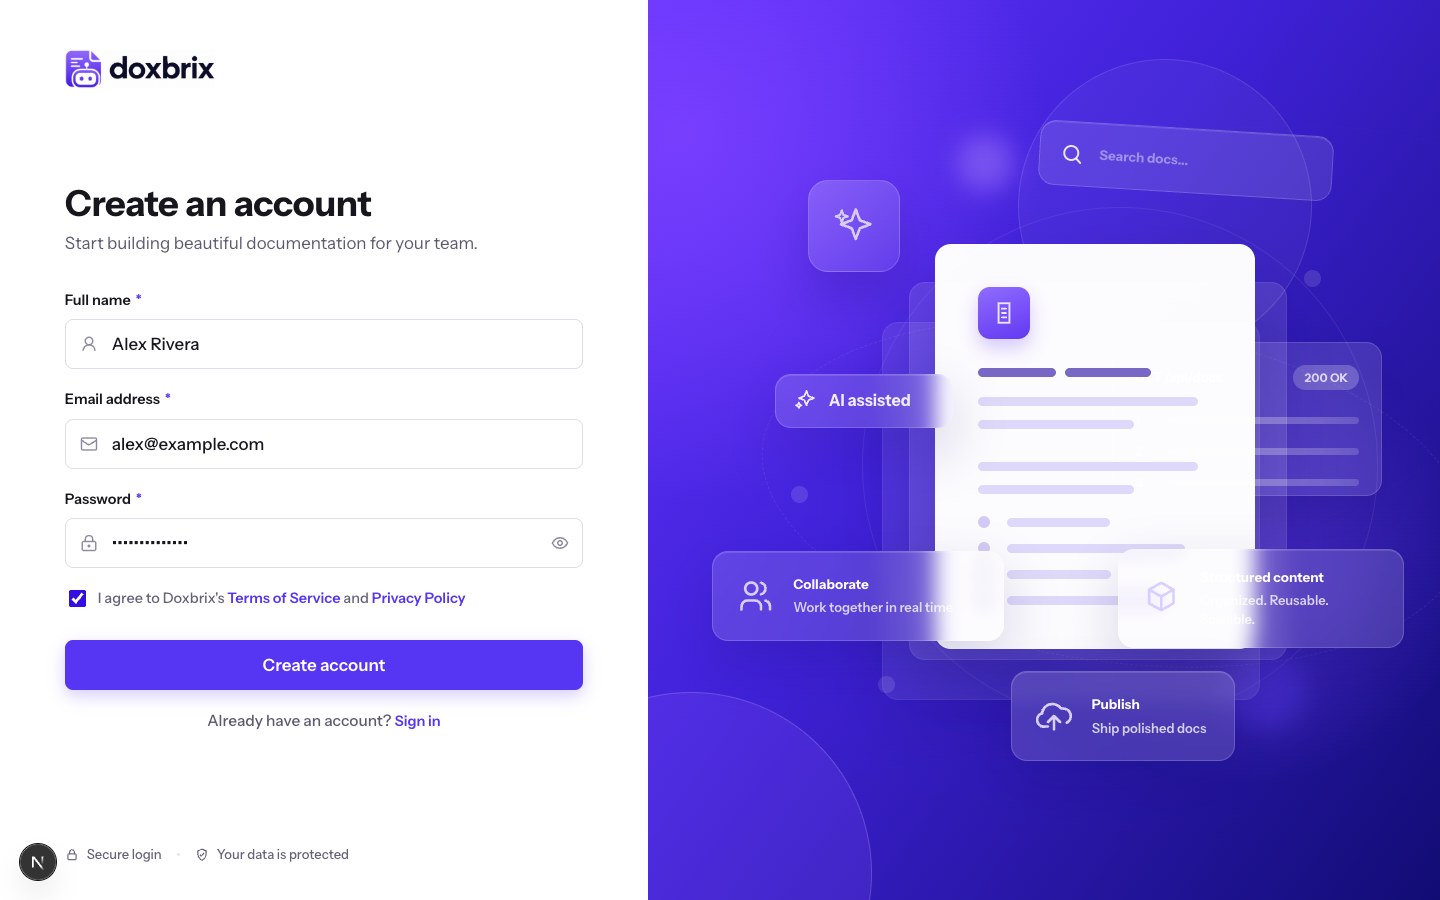
Go to the Doxbrix sign-up page at /sign-up. The Create an account form asks for your full name, email address, and a password.
Enter your details, for example:
- Full name:
Alex Rivera - Email address:
alex@example.com - Password: at least 8 characters
Select the I agree to Doxbrix's Terms of Service and Privacy Policy checkbox, and then select Create account.
Doxbrix shows Verify your email and sends a verification link to your address.
Open the email from Doxbrix and select the verification link. The link is valid for 24 hours and signs you in.
If the email does not arrive, check your spam folder, and then select Resend verification email on the Verify your email screen.
On your first sign-in, Doxbrix creates a workspace for you, named after your profile (for example, Alex Rivera's Workspace), and makes you its owner. A workspace is your organization's account; it holds your members, billing, and projects.
Doxbrix opens Start free, or try a paid plan. Yearly billing is selected by default; select Monthly to see monthly prices.
For this tutorial, select Continue with Free. Free needs no credit card and includes one public project.
To evaluate a paid plan instead, select Start free trial on Starter, Pro, or Business. The trial lasts 14 days with no charge today.
Doxbrix opens the Home dashboard. The left sidebar groups your tools under Workspace, Content, Insights, and Admin. The main area shows workspace statistics, your Projects, Drafts & needs attention, and Publishing status.
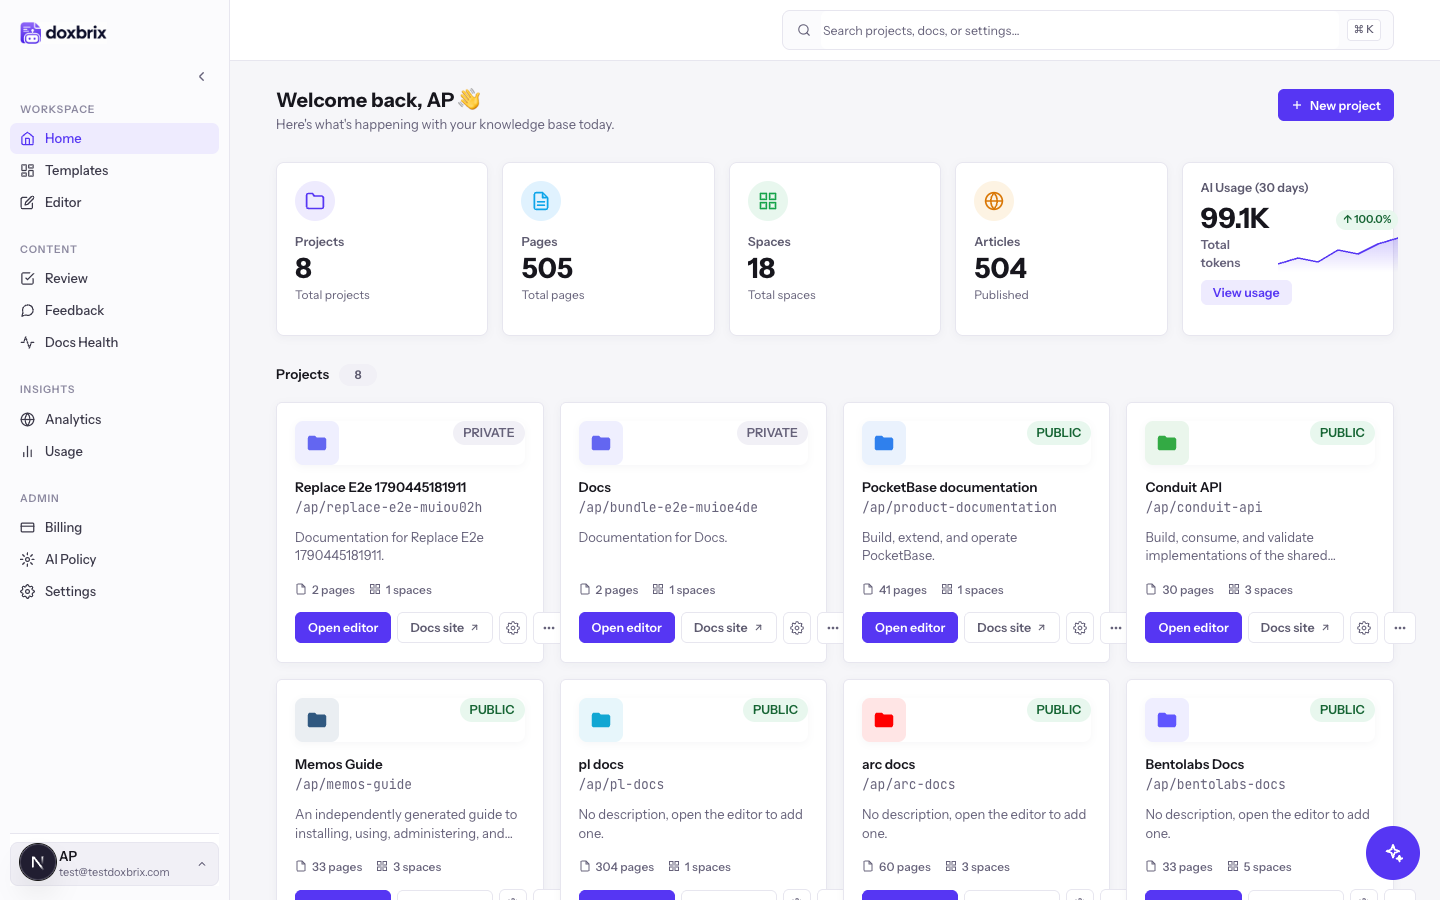
A new workspace has no projects yet, so its statistics start at zero.
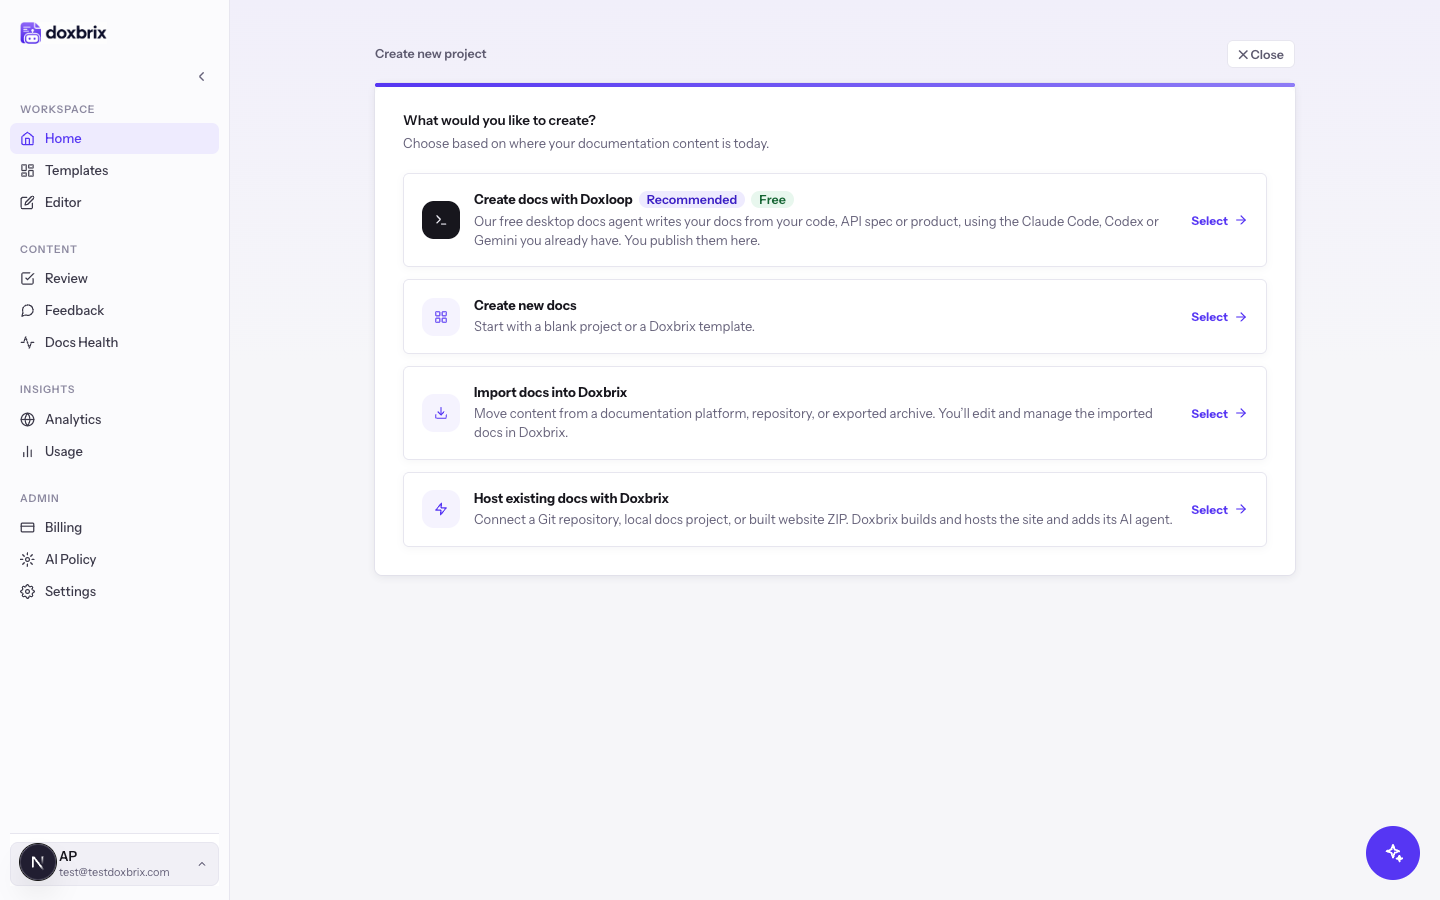
Select New project. The Create new project wizard asks What would you like to create?
A project is one documentation site with its own address, branding, and pages. Select Create new docs, which starts from a blank project or a Doxbrix template.
On the Template step, keep Blank selected and select Continue. To compare the other options, see Create a project.
On Name your project, enter Acme Docs in Project name. Doxbrix shows the address your site will use, for example acme-docs.doxbrix.app. Select Edit URL to change it.
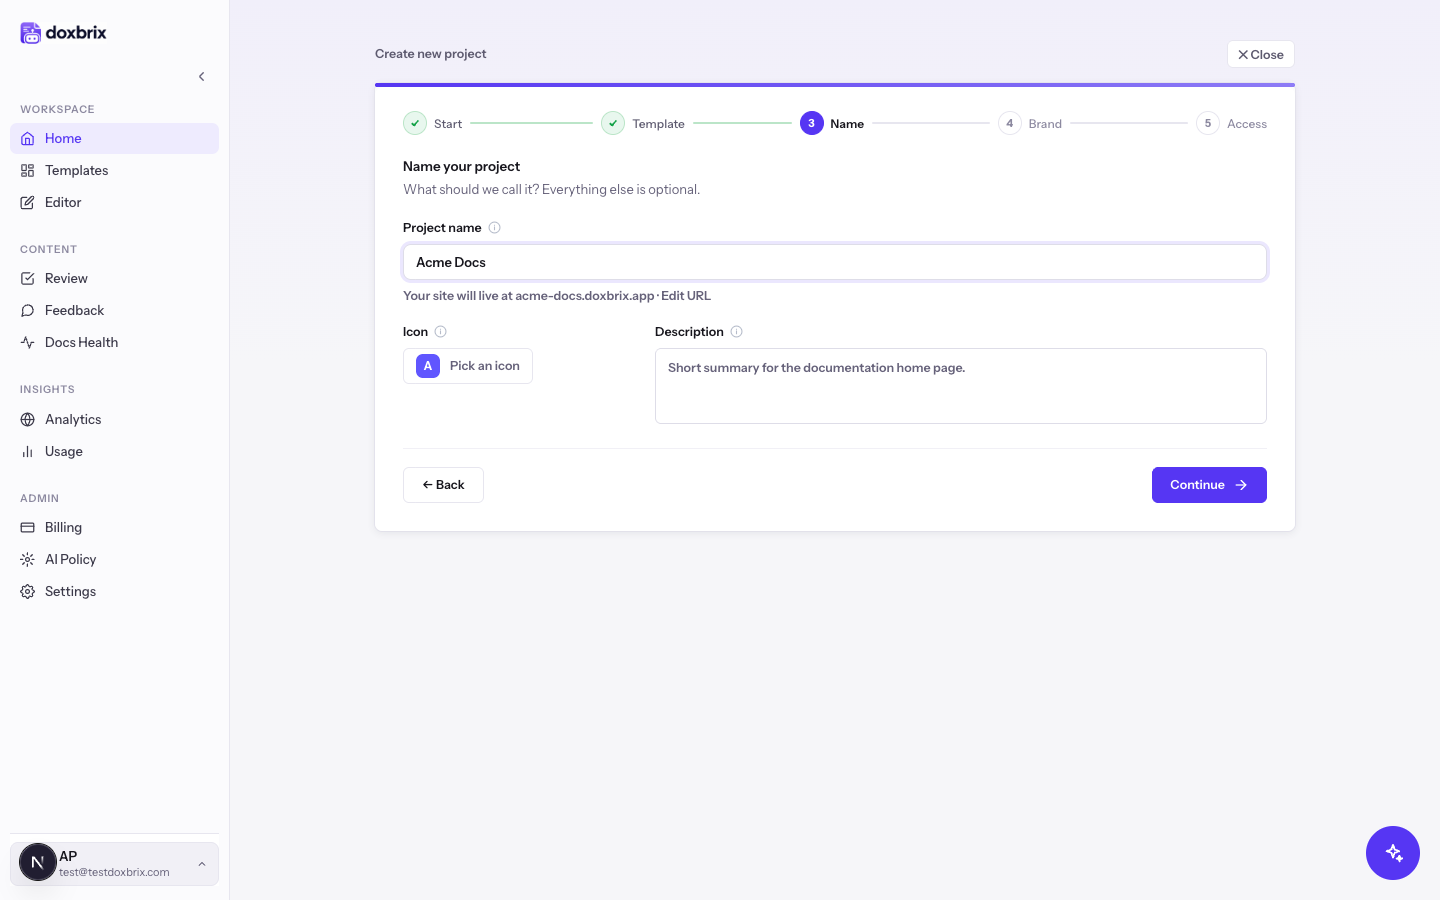
Select Continue.
On the Brand step, you can pick a brand color, font, and default theme. On the Access step, Who can view is set to Public, so anyone with the link can read the site.
Keep the defaults and select Create project. You can change every one of these settings later in project settings.
Write and publish your first page
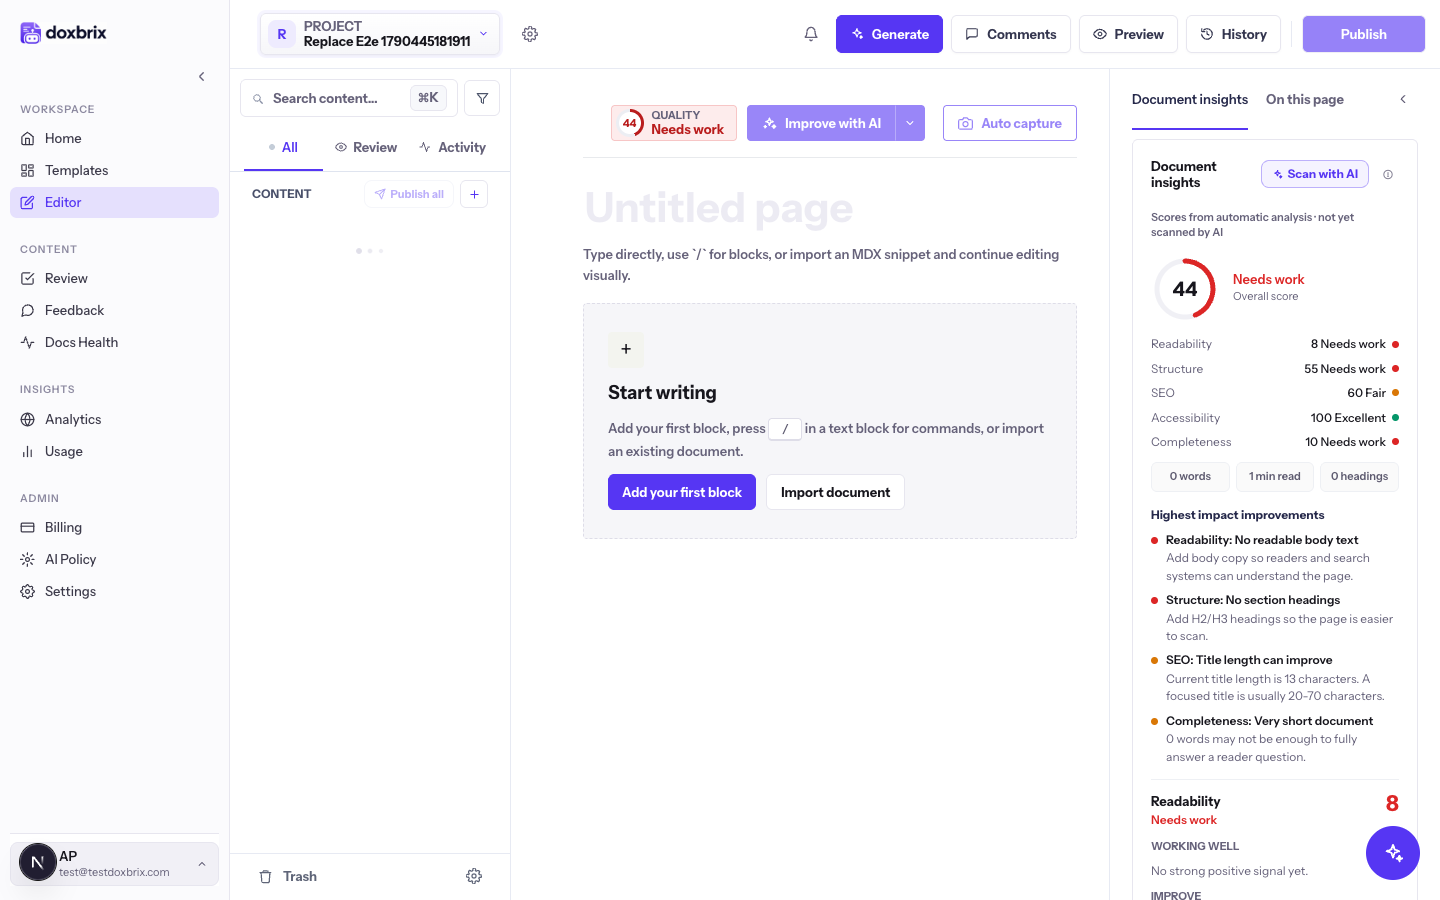
Open the editor for Acme Docs: on the dashboard, select Open editor on the project card, or select Editor in the sidebar.
An empty project shows Start writing with Add your first block and Import document. The left panel lists your content; the right panel shows Document insights scores for the open page.
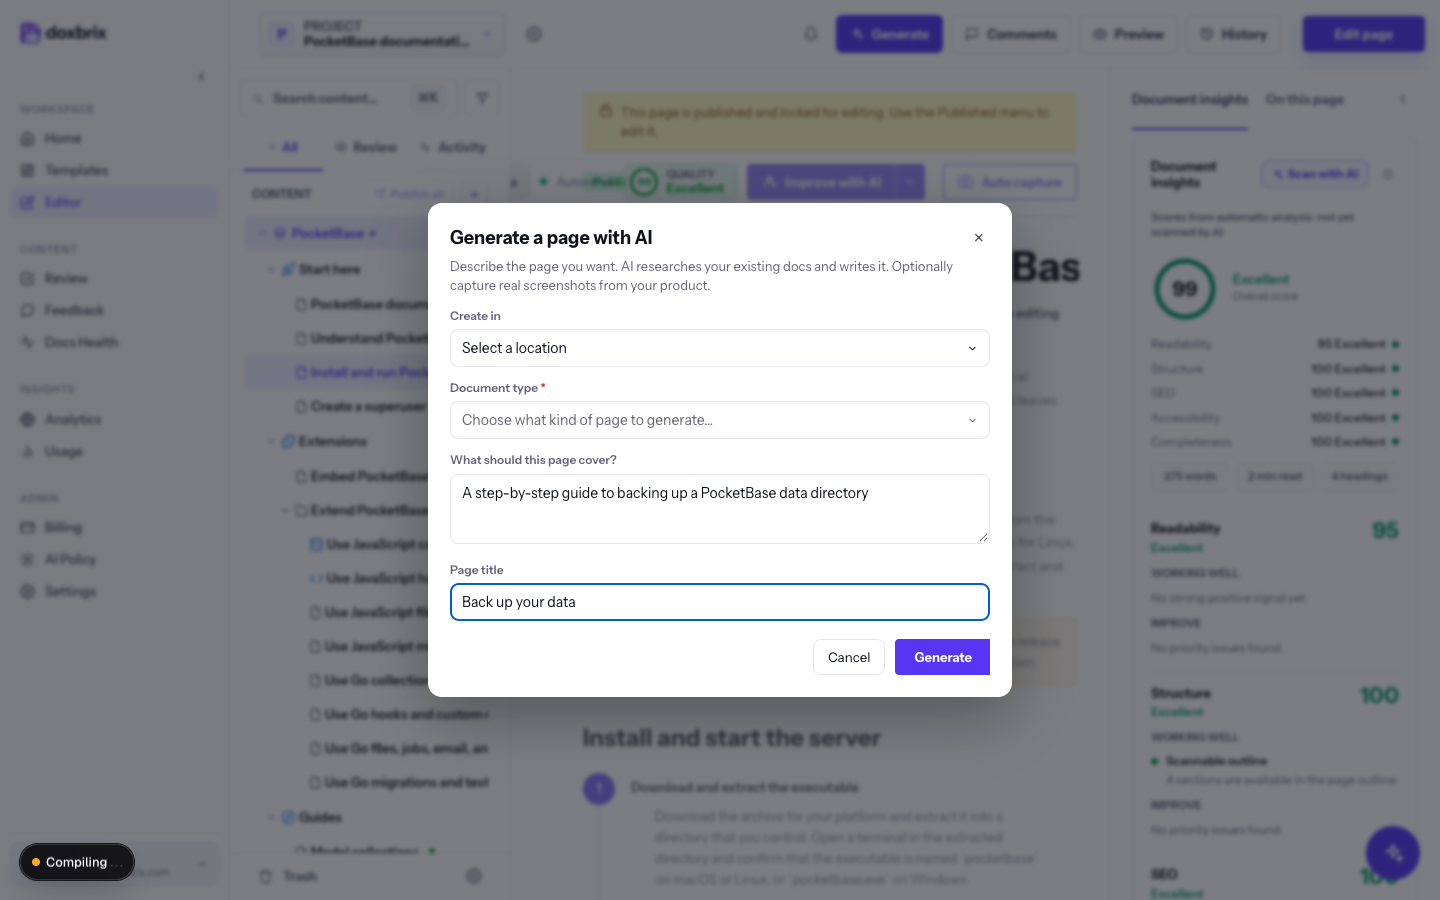
Select Generate in the top bar. In the Generate a page with AI dialog:
- In Create in, keep the space Doxbrix suggests.
- In Document type, select Overview / landing.
- In What should this page cover?, describe the page, for example:
An introduction to Acme Docs for new customers: what the product does and where to start. - In Page title, enter
Welcome to Acme Docs.
Select Generate at the bottom of the dialog. Doxbrix writes the page as a draft and notifies you when it is ready.
Review the draft and edit any block you want to change. The page is still a draft, so readers cannot see it yet.
With the new page open, select Publish in the top bar.
Because this project needs no approval, Publish takes the page live immediately; there is no confirmation step. The page now shows This page is published and locked for editing, and the top bar shows Edit page. Use Edit page when you want to change the page again.
Go back to the dashboard and select Docs site on the Acme Docs project card. Your reader site opens with the published page, sidebar navigation, Search..., and Ask Assistant.
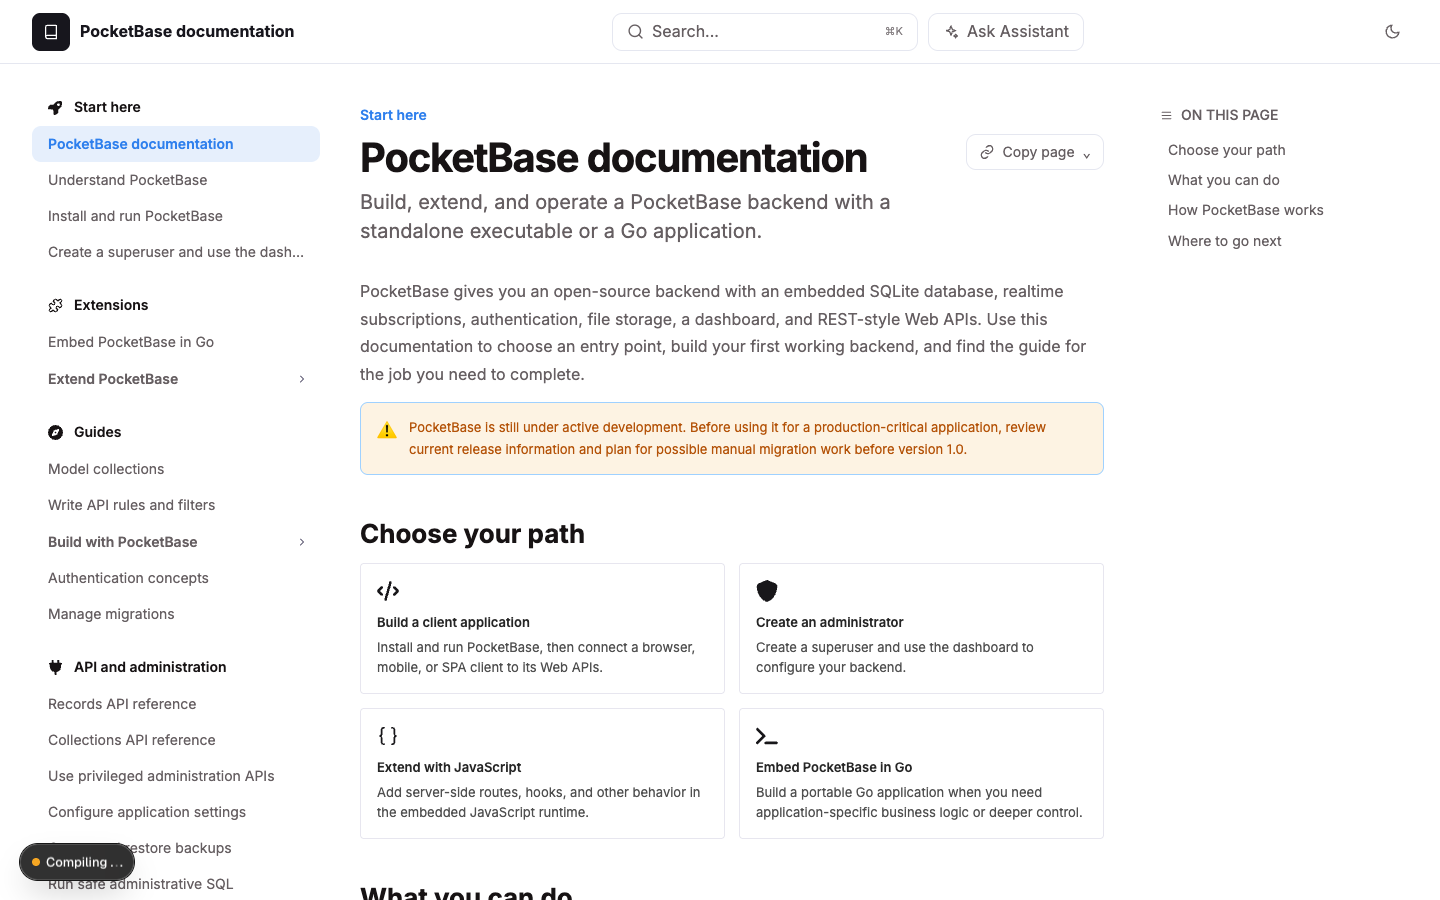
https://acme-docs.doxbrix.app, with anyone; a Public site needs no sign-in.Troubleshooting
What you learned
- Signing up creates an account; verifying your email signs you in and creates your workspace.
- The workspace owner chooses a plan before using the app.
- A project is one site with its own address, and Create new docs starts it blank or from a template.
- Pages start as drafts, and Publish (or an approved review) makes them live on the reader site.