
Generate a page with AI
Create a complete documentation page from a topic, a document type, and a location in your project, with or without real product screenshots.
The Generate button in the editor creates a new page for you. You describe what the page should cover, choose where it goes and what kind of page it is, and Doxbrix researches your existing docs and writes the page. For task-oriented pages, it can also sign in to your product and capture real screenshots.
Use this guide when you want a first draft of a whole page. To change an existing page, use the AI Writer or inline AI instead.
Before you begin
- You need project manager access to the project. Without it, generation fails with
You need project manager access to generate pages.See Roles and permissions. - The project needs at least one space. See Organize spaces, groups and navigation.
- To include screenshots, you need the login page URL and a test account for your product. Use a demo or staging account, not a production account with real customer data.
Choose a document type
The document type sets the structure of the generated page. Only some types offer screenshots.
| Document type | What it produces | Screenshots |
|---|---|---|
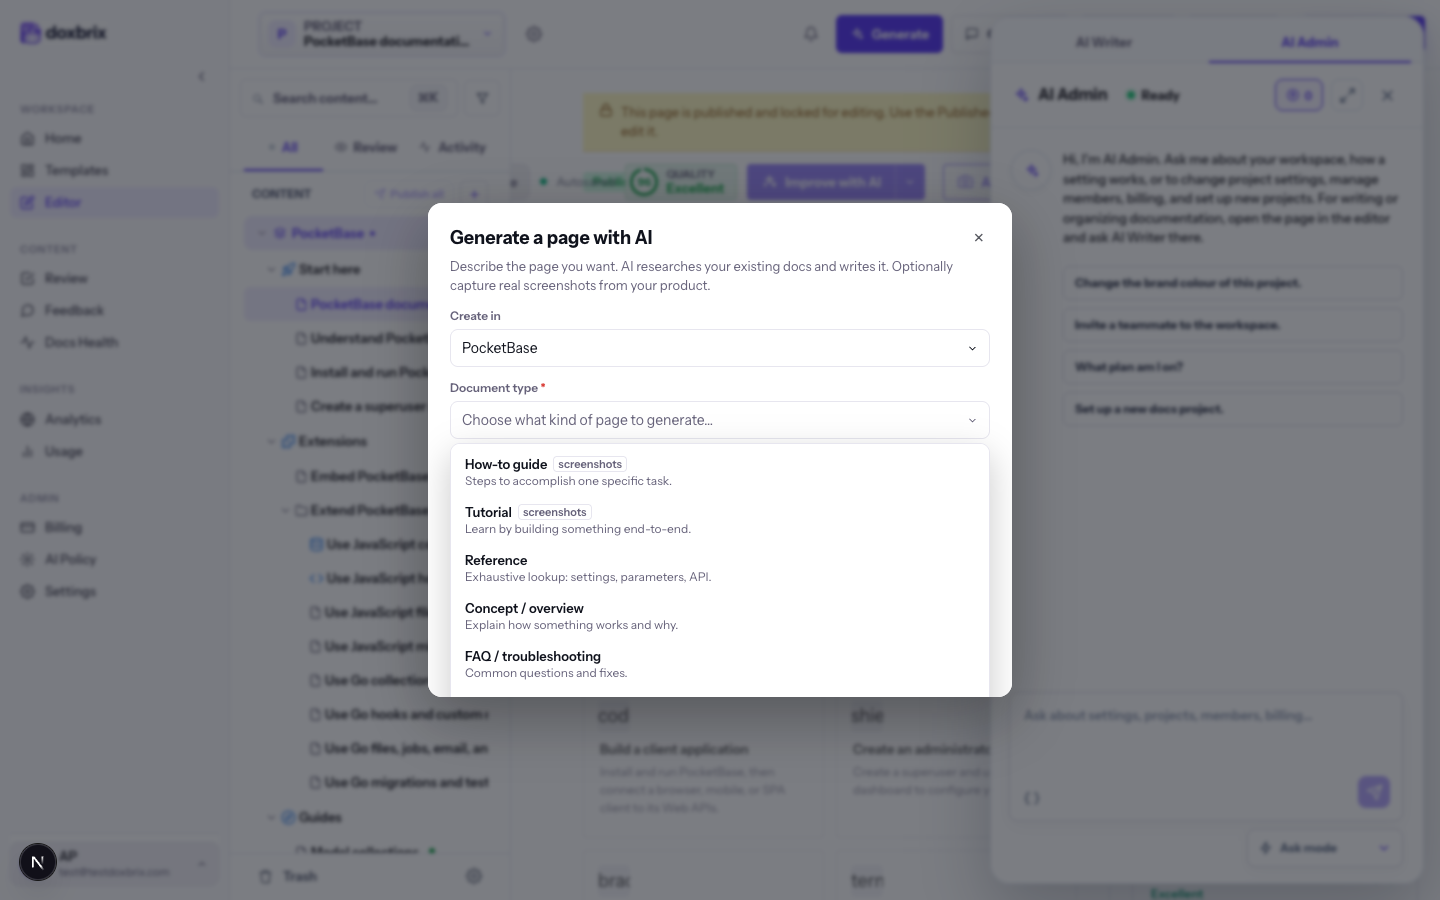
| How-to guide | Steps to accomplish one specific task. | Available |
| Tutorial | Learn by building something end-to-end. | Available |
| Reference | Exhaustive lookup: settings, parameters, API. | Not available |
| Concept / overview | Explain how something works and why. | Not available |
| FAQ / troubleshooting | Common questions and fixes. | Not available |
| Release notes | What changed, newest first. | Not available |
| Overview / landing | A hub that links to related pages. | Not available |
| General / freeform | No fixed structure; follows your instructions. | Available |
Generate the page
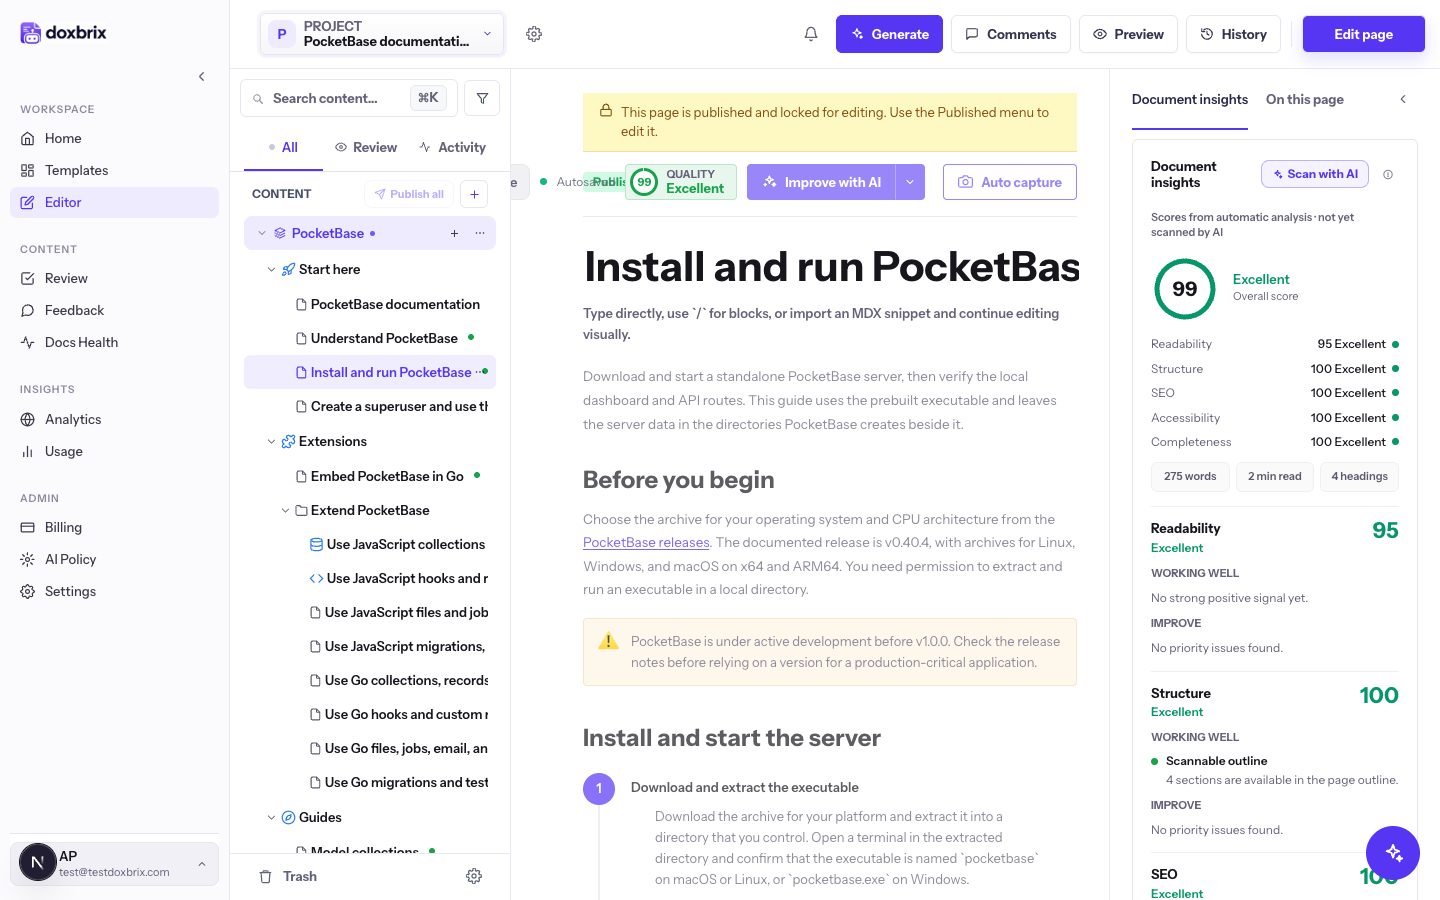
Open the project from the dashboard. The editor shows the space tree on the left, the open page in the center, and the top bar with Generate, Comments, Preview, History, and Publish.
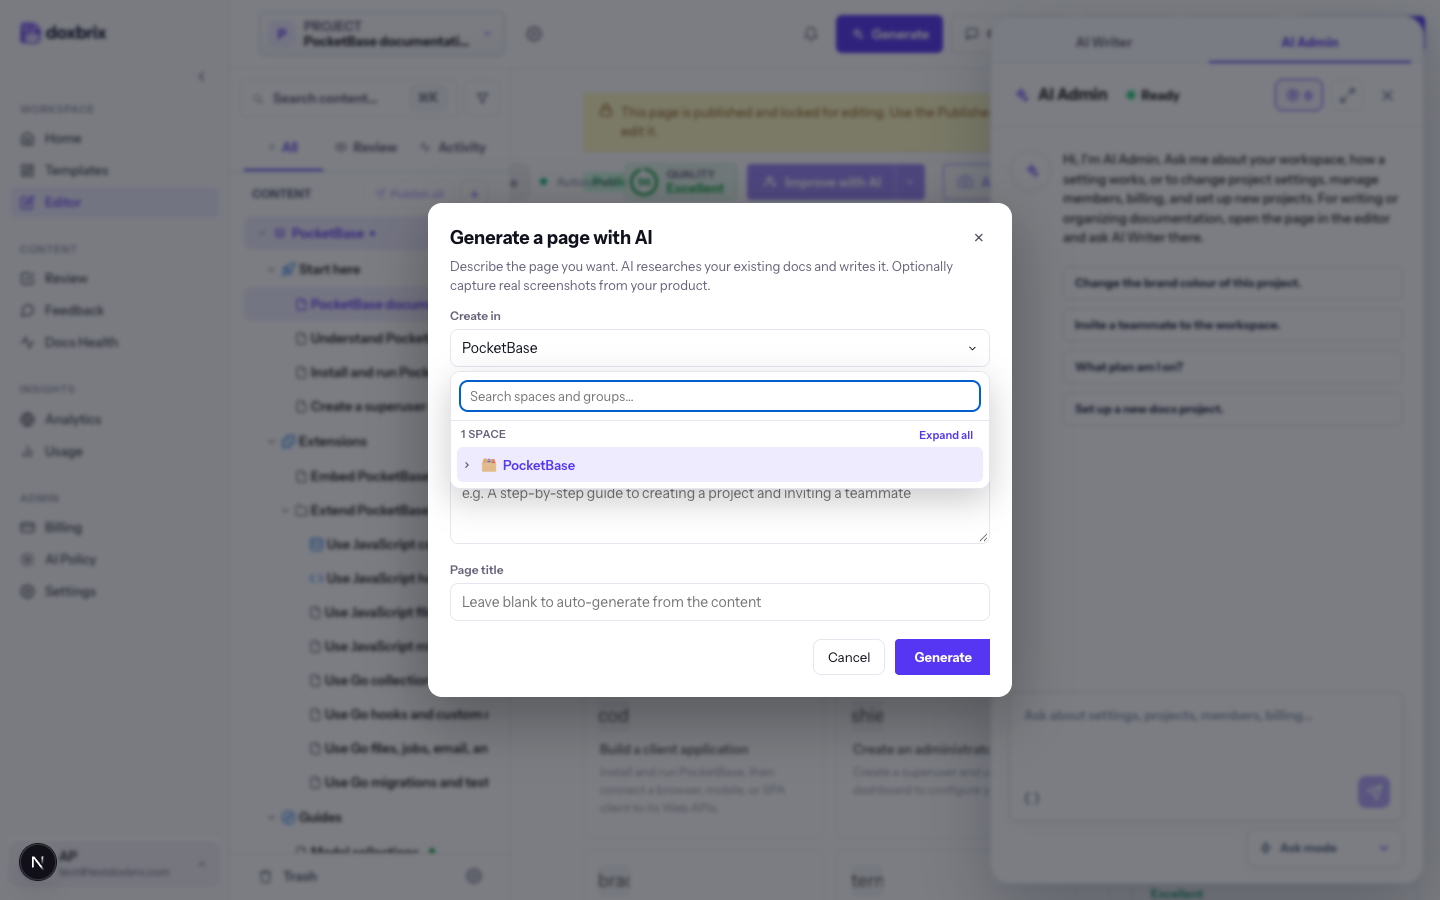
Select Generate in the top bar. The Generate a page with AI dialog opens.
Open the Create in picker. It lists your spaces and the groups inside them. Type in Search spaces and groups… to filter the list, or use Expand all to see every group. Select a space, such as PocketBase, or a group inside it. The picker closes and shows the chosen location.
Open Document type, which shows Choose what kind of page to generate…, and select a type from the list. For a task page, select How-to guide. Scroll the list to see Release notes, Overview / landing, and General / freeform.
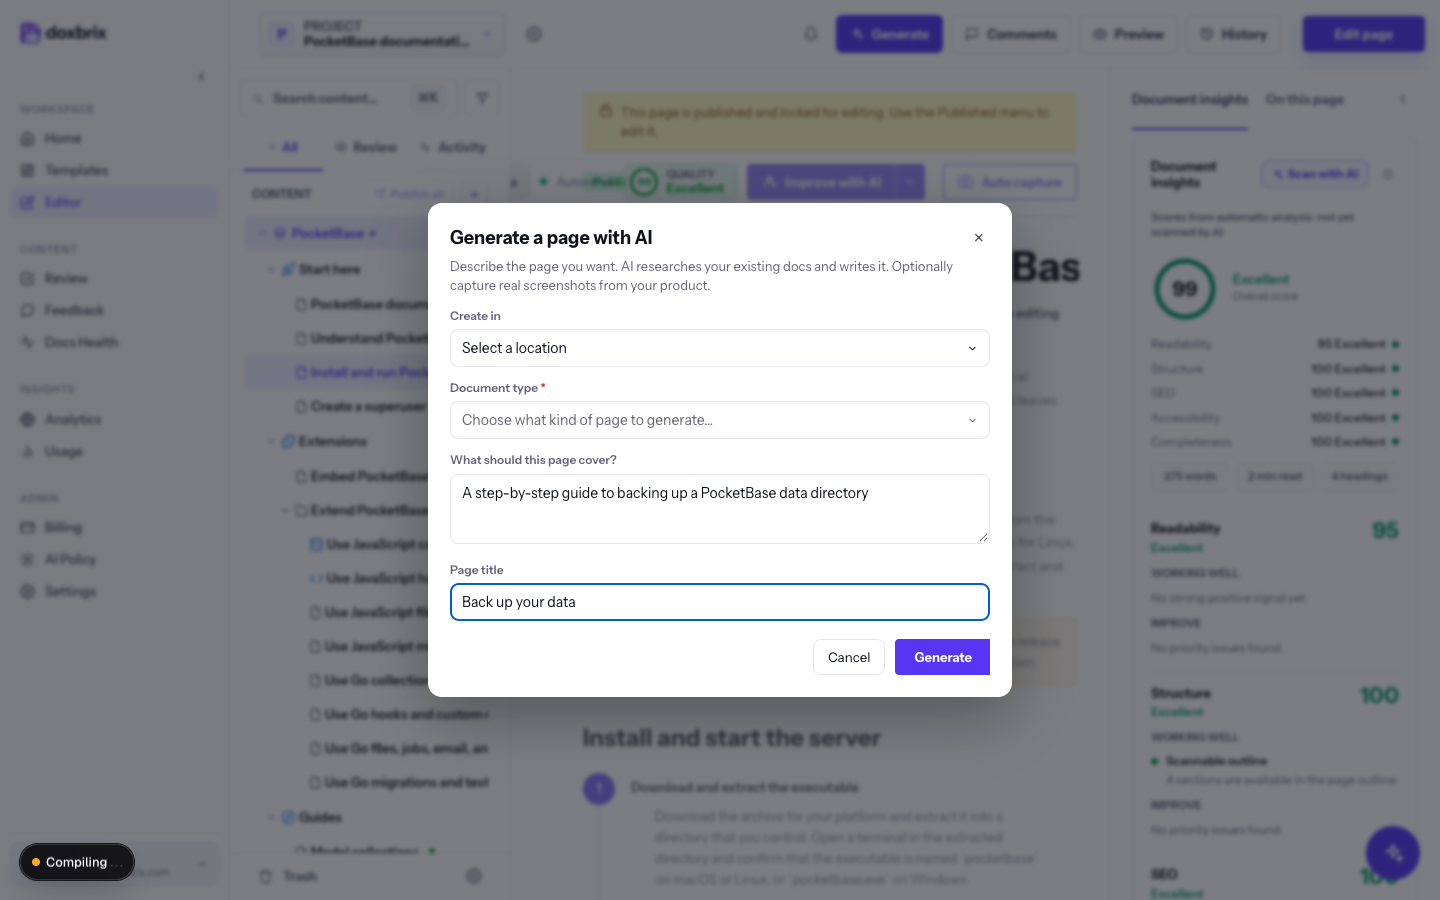
In What should this page cover?, describe the page in plain language, for example A step-by-step guide to backing up a PocketBase data directory. You can use up to 2,000 characters. Be specific about the reader, the task, and the result you expect.
In Page title, type a title such as Back up a PocketBase data directory, or leave it blank to generate a title from the content.
When the document type offers screenshots, How should we build it? appears. Choose one:
- Text only researches your docs and writes the page.
- With screenshots signs in to your product and captures real screenshots. It takes longer and uses noticeably more AI usage than a text-only page.
If you choose With screenshots, pick Use a saved login and a Saved login, or pick New login and enter Application URL (login page), Username / email, and Password. Select Save this login for future captures to reuse it, and optionally give it a Name (optional) such as Staging app. When no logins are saved yet, the login fields appear directly.
Select Generate. The dialog shows Starting generation…, then one of these results:
- Generation started ✓: the page is written in the background. Select Done and keep working. Doxbrix notifies you in the app and by email when the page is ready.
- Page created ✓: the page was written immediately, and the editor opens it.
Troubleshooting
For AI policy and billing errors, see Troubleshoot AI features.