
Govern AI with the AI policy
Choose which AI models members can use, cap token spend, turn AI features on or off, limit agent autonomy, and set style and data rules for the whole workspace.
The AI policy is one set of workspace-wide rules that every Doxbrix AI feature follows. Use this guide to choose models and response tiers, cap token spend, switch features on or off, set how far AI agents may act on their own, and codify your editorial voice and data rules.
Use the AI policy when you are rolling out AI to a new workspace, when a security or legal review asks which models process your content, or when AI spend needs a predictable ceiling. Project-level assistant settings, such as the Ask AI assistant, can narrow these rules for one project but never exceed them.
Before you begin
- You need the Owner or Admin role in the workspace. Editors and Viewers who open the page see Access restricted with the message "Only workspace Owners and Admins can configure the AI policy." See Roles and permissions.
- Decide who should receive budget alerts, and collect their email addresses.
- Agree on preferred and banned terms with your docs team before you enter them, so that AI output matches hand-written pages.
Know the defaults
A new workspace starts with this policy. Keep the defaults you are satisfied with and change only the rest.
| Setting | Default |
|---|---|
| Enabled models | Claude Sonnet 4.6 |
| Default tier | Spark (fast, efficient) |
| Monthly workspace budget | 500,000 tokens |
| Per-member monthly cap | No limit |
| Alert threshold | 80% |
| Feature switches | All on except AI agent |
| Maximum autonomy and approval policy | Suggest only |
| Voice | Professional but approachable |
| Grammatical person | Second person ("you") |
| Reading level | Grade 9–11 |
| No training on your content | On, always enforced |
Steps
In the left sidebar of the dashboard, select AI Policy. The page opens at /settings/ai-policy with its sections grouped under Models & budgets, Controls, and Governance, and Models & Tiers selected.
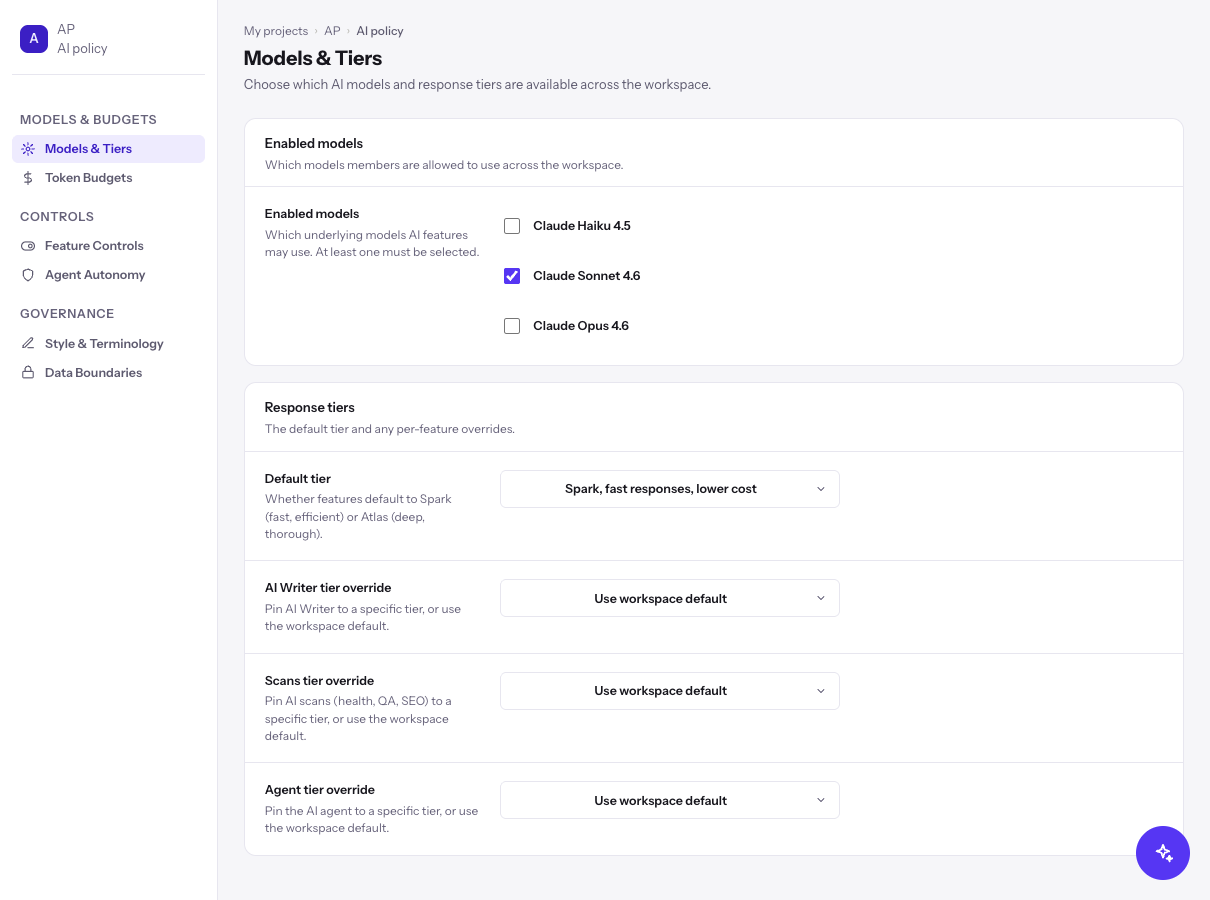
In Models & Tiers, under Enabled models, select each model members may use: Claude Haiku 4.5, Claude Sonnet 4.6, or Claude Opus 4.6. At least one model must stay selected. Restricting the workspace to one approved model is common in regulated environments.
Under Response tiers, set Default tier to Spark (fast, efficient) or Atlas (deep, thorough). To pin one feature to a tier, change AI Writer tier override, Scans tier override, or Agent tier override from Use workspace default to Spark or Atlas. Scans cover health, QA, and SEO audits.
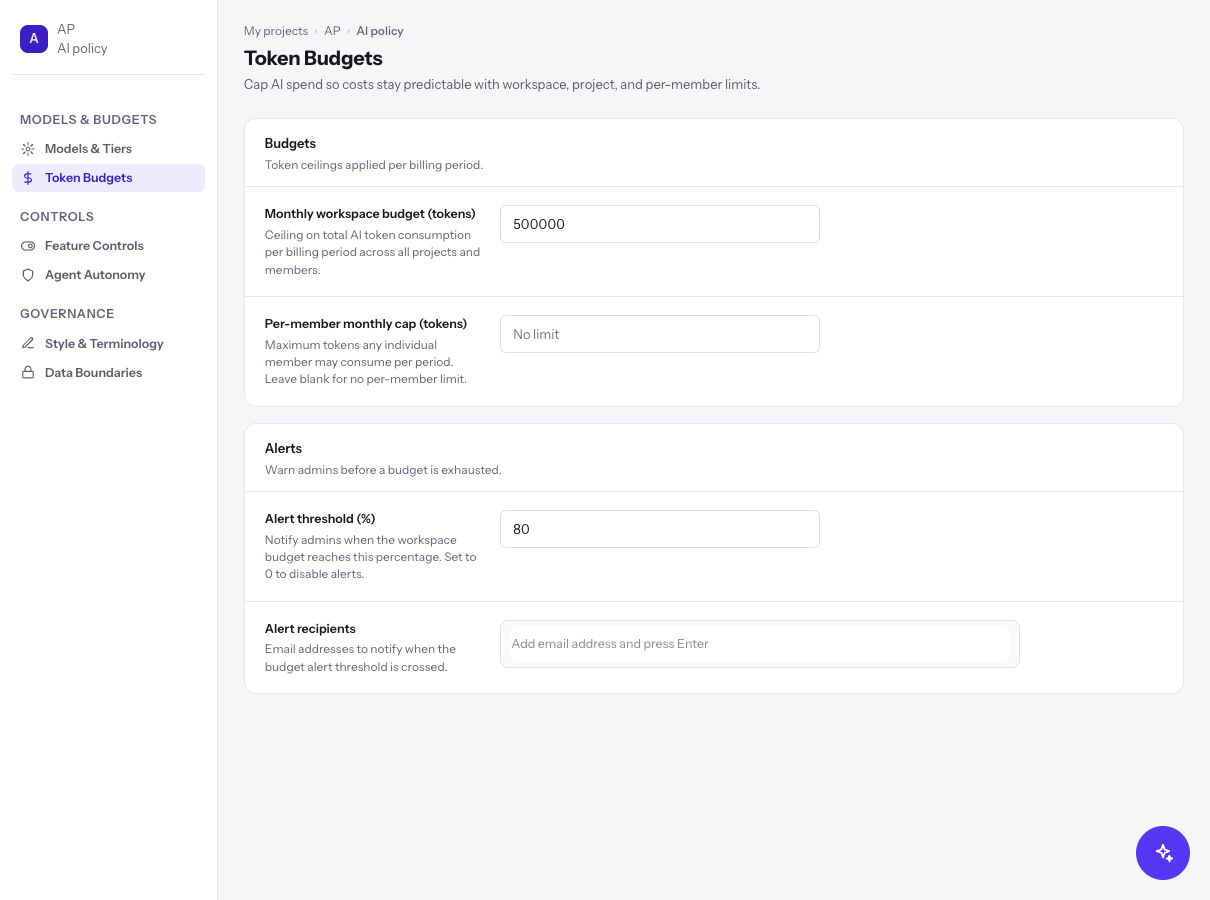
Select Token Budgets. In Monthly workspace budget (tokens), enter the ceiling for all projects and members per billing period, from 10,000 to 100,000,000 tokens. For example, enter 2000000 for two million tokens.
To limit individuals, enter a value of at least 1,000 in Per-member monthly cap (tokens); leave it blank for no per-member limit. Under Alerts, set Alert threshold (%) (enter 0 to turn alerts off) and add up to 10 addresses in Alert recipients, such as docs-lead@example.com.
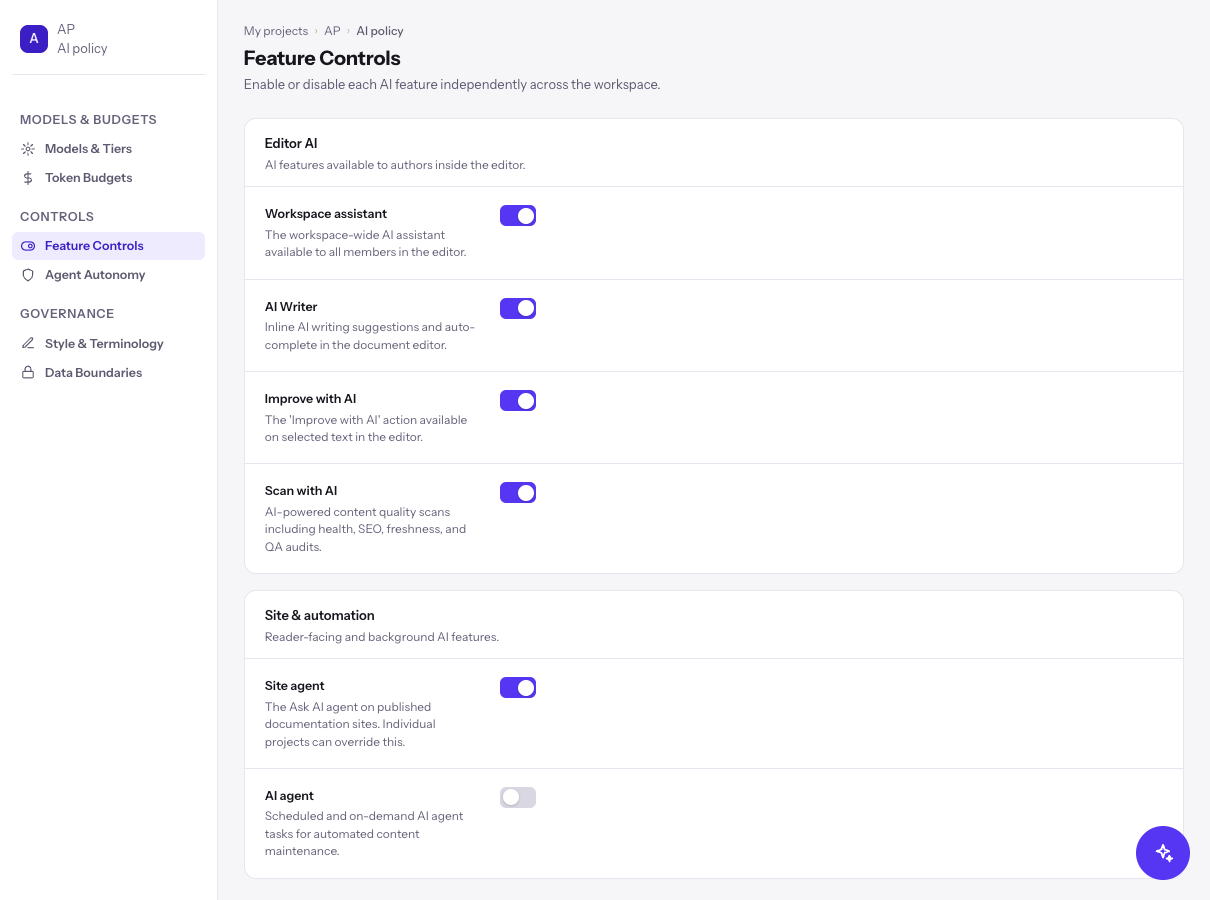
Select Feature Controls. Under Editor AI, use the switches for Workspace assistant, AI Writer, Improve with AI, and Scan with AI. Under Site & automation, use Site agent for the reader-facing Ask AI agent and AI agent for scheduled and on-demand agent tasks.
A disabled feature is hidden from members across the workspace, and requests to it are refused. Individual projects can override Site agent.
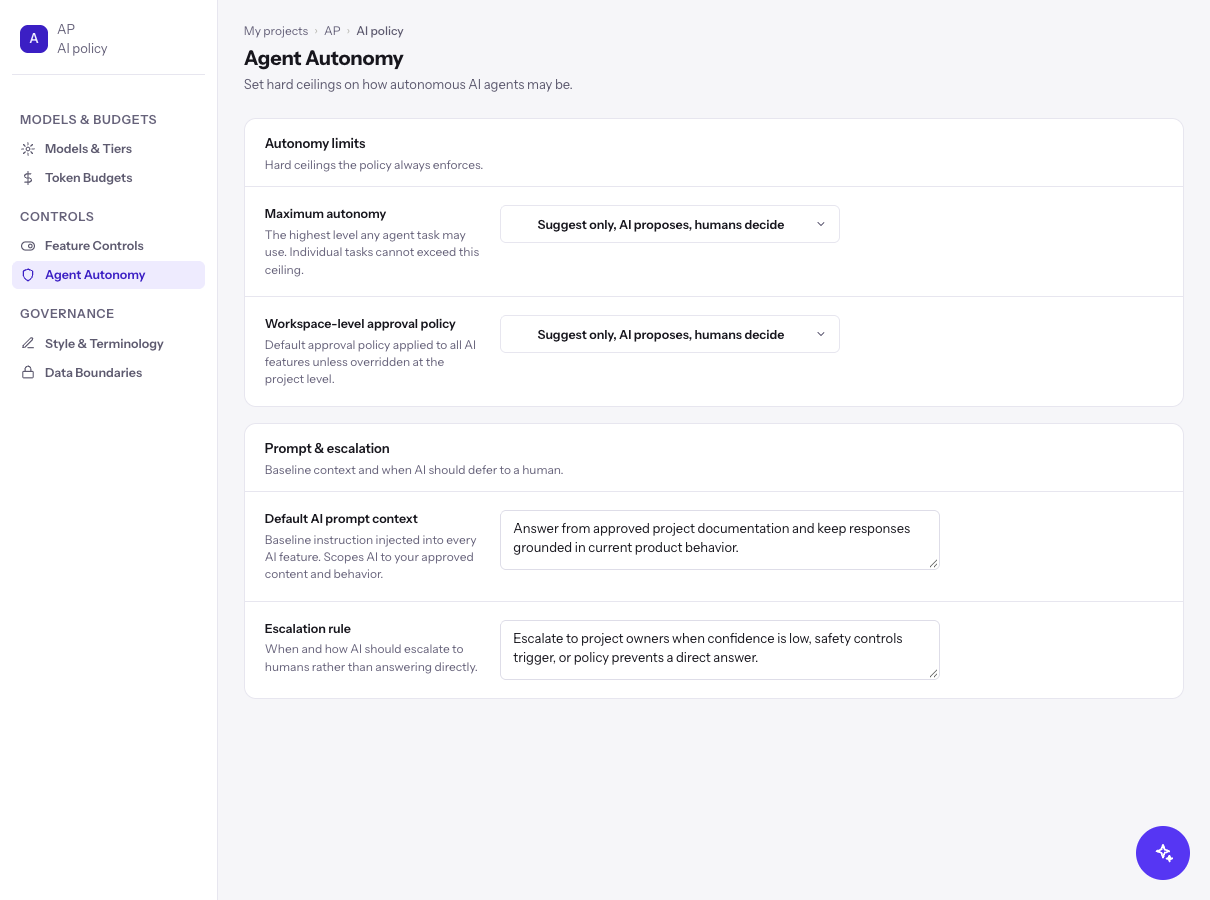
Select Agent Autonomy. Set Maximum autonomy to the highest level any agent task may use, and Workspace-level approval policy to the default for all AI features:
- Suggest only, AI proposes, humans decide
- Draft for review, AI drafts, humans approve
- Autonomous, AI acts without review
The policy always wins: a task configured more aggressively is held to this ceiling. Under Prompt & escalation, edit Default AI prompt context (up to 2,000 characters), the baseline instruction added to every AI feature, and Escalation rule (up to 1,000 characters), which says when AI should defer to a person.
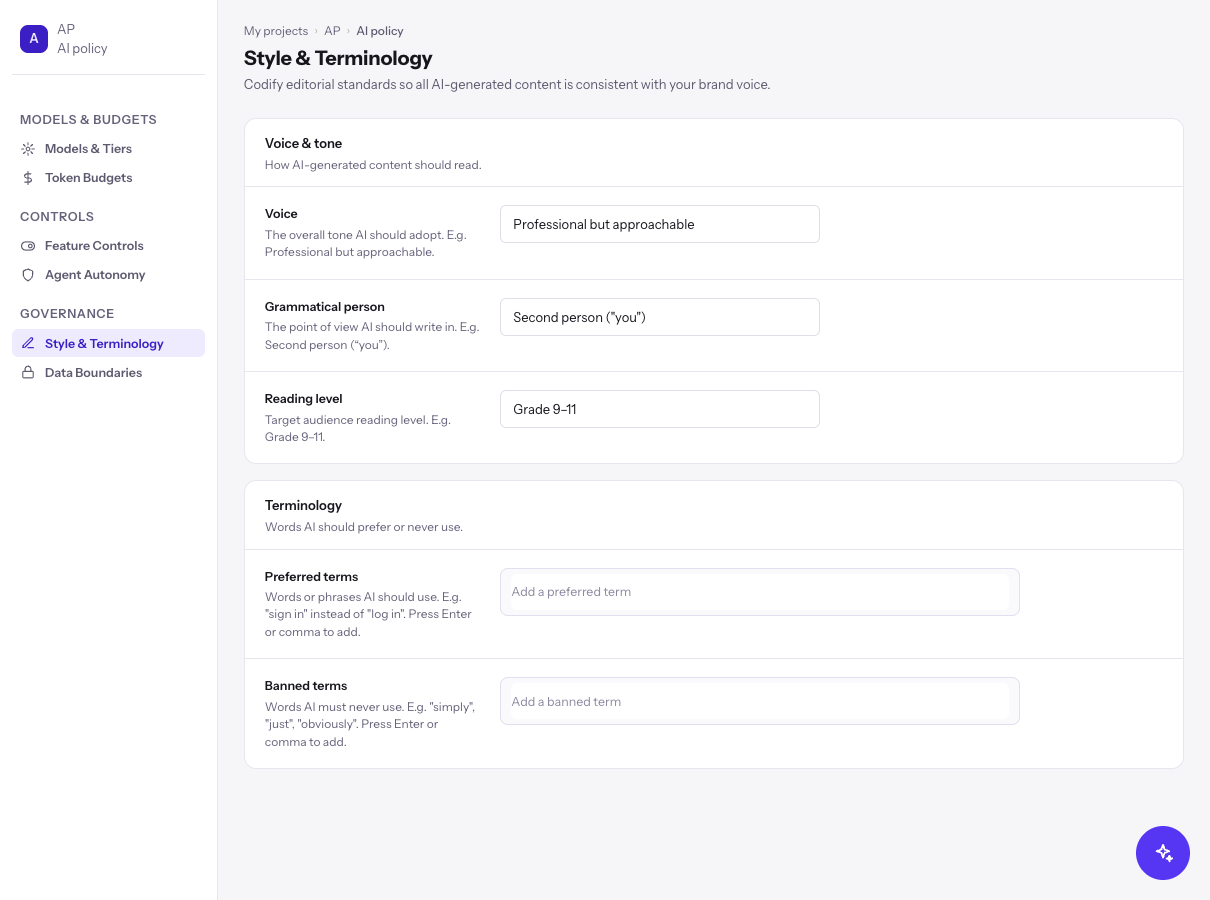
Select Style & Terminology. Under Voice & tone, fill in Voice, Grammatical person, and Reading level. Under Terminology, type a word or phrase in Preferred terms or Banned terms and press Enter or a comma to add it. Each list holds up to 50 terms of up to 100 characters. For example, add sign in as a preferred term and simply as a banned term.
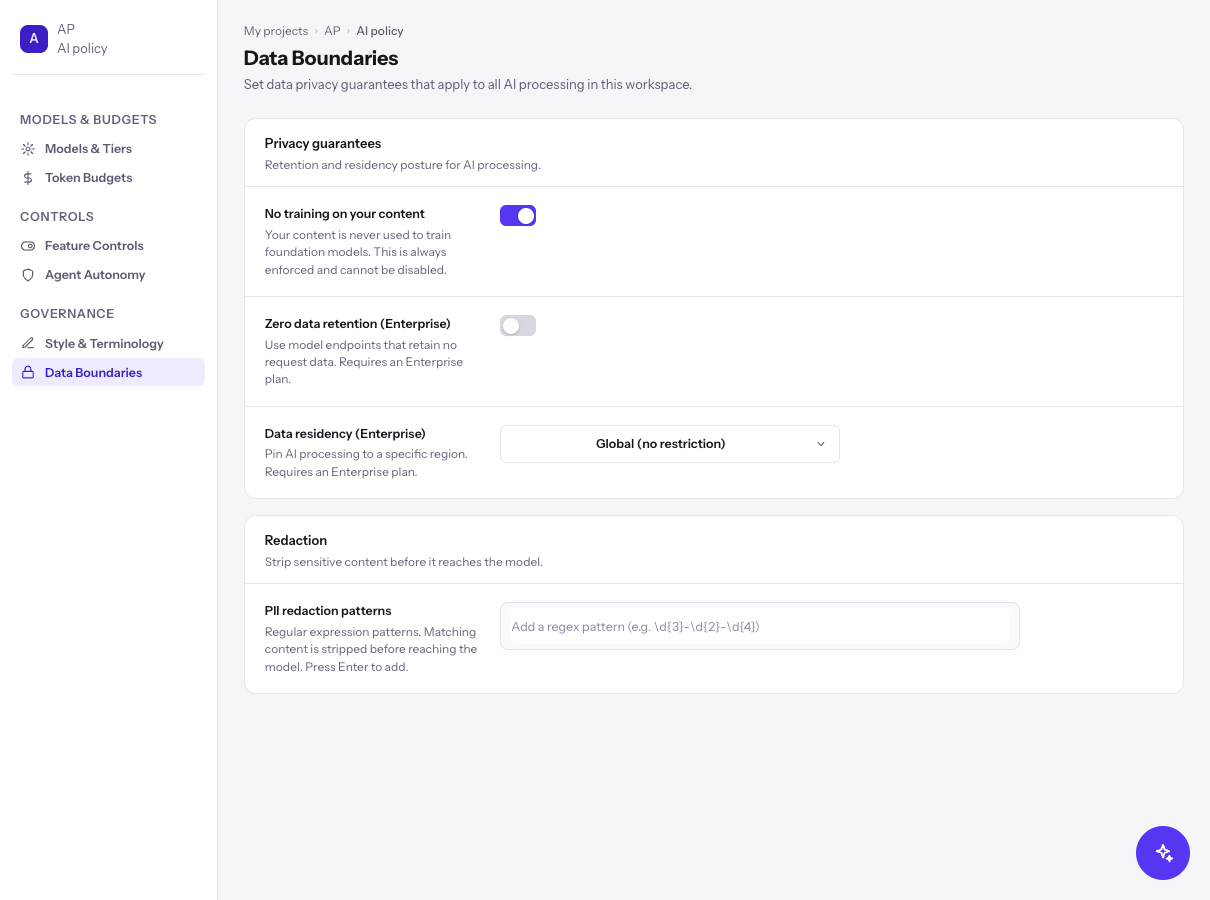
Select Data Boundaries. No training on your content is always on and cannot be turned off. Under Redaction, add regular expressions to PII redaction patterns and press Enter after each one; matching content is stripped before it reaches the model. You can add up to 20 patterns. For example, \b\d{3}-\d{2}-\d{4}\b removes US Social Security numbers.
The Zero data retention (Enterprise) and Data residency (Enterprise) controls on this tab require an Enterprise plan, which is not among the self-serve plans. Contact Doxbrix before you rely on them.
Select Save changes in the footer. The button shows Saving… and then Saved, and the notice AI policy saved. appears at the top of the page.
Verify
- Reload AI Policy and confirm your values are still shown in each section.
- Ask an Editor to open the editor. Any feature you switched off, such as Improve with AI, is no longer offered.
- Generate a short draft with the AI Writer and check that it uses your preferred terms and avoids banned ones.